There’s nothing quite like the infectious joy of a child Unwrapping Joy: The Thrill of Leotards Under the Christmas Treedressed as their favorite character. And for many little ones, that character is the iconic Minnie Mouse. With her signature red and white polka dots and playful personality, Minnie Mouse is a timeless costume choice. So, if you’re looking to create a magical Mini Mouse experience for your child (or even yourself!), this DIY guide is here to help.
Planning Your Mini Mouse Masterpiece
Before diving into the crafting frenzy, take a moment to consider the age of your Mini Mouse and the level of detail you want to achieve. Here’s a breakdown to help you decide:
-
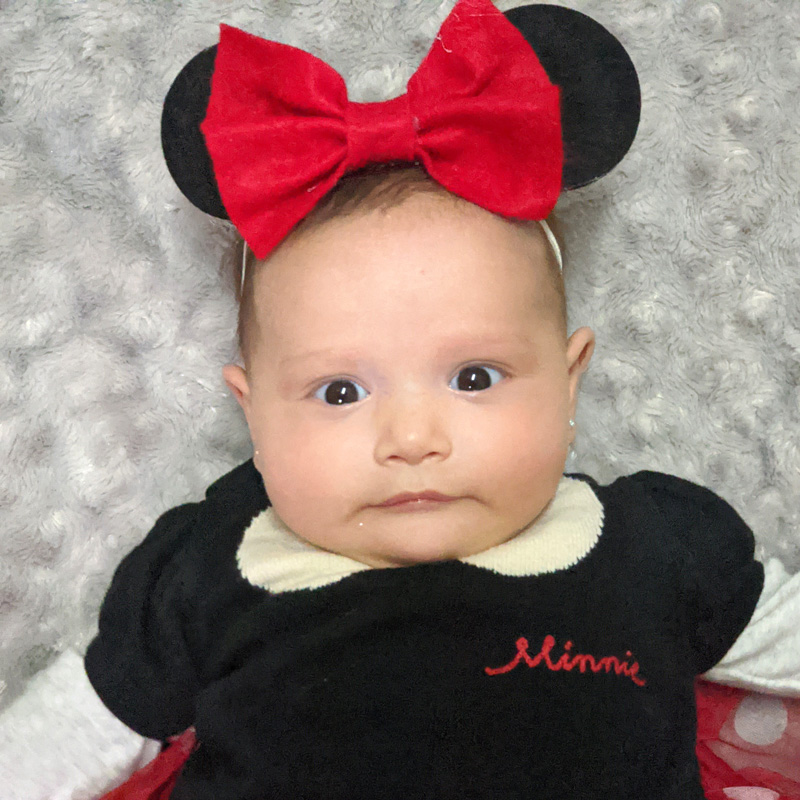
For Babies and Toddlers (up to 3 years old): Comfort is key! Opt for soft, pre-made pieces like a red polka-dotted onesie or leggings paired with a red headband with attached ears. You can even find adorable Minnie Mouse footie pajamas that double as a costume.
-
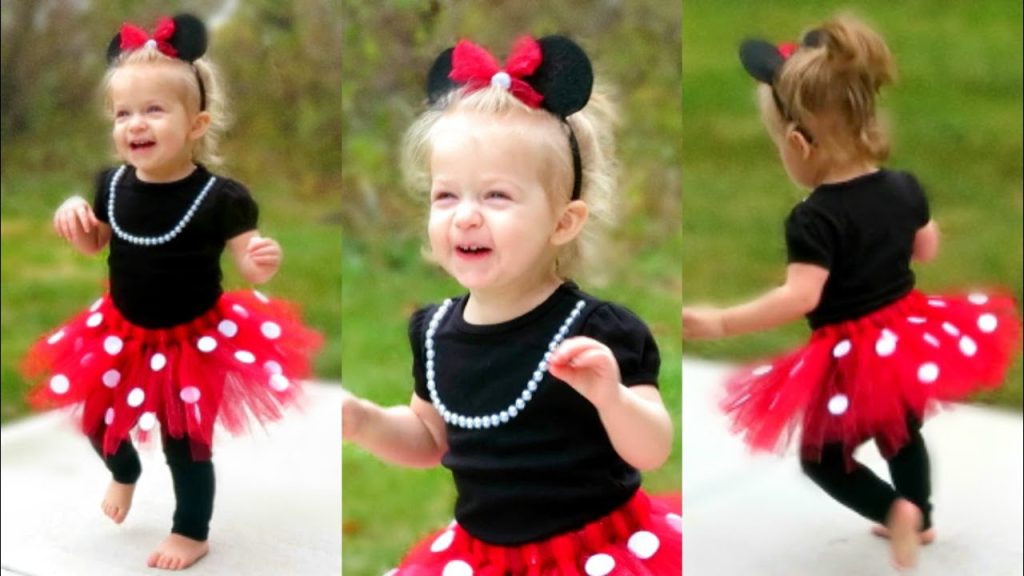
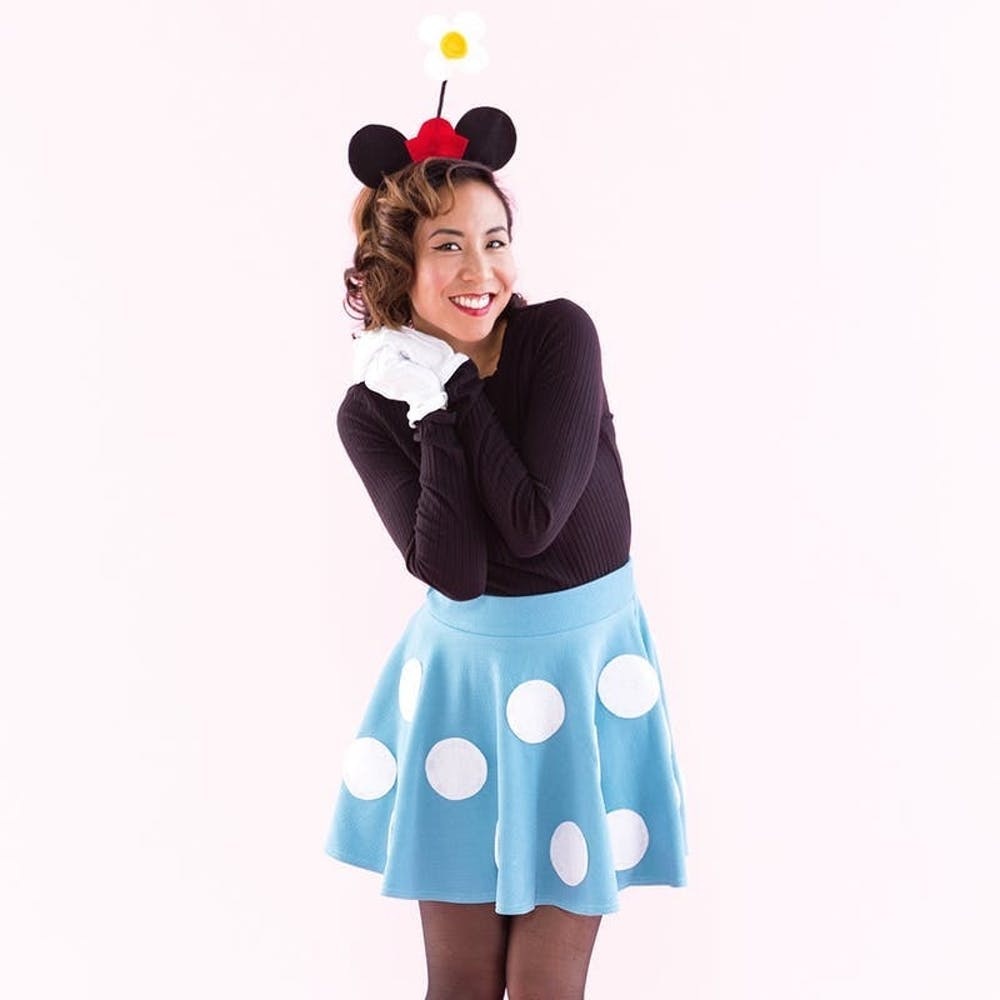
For Preschoolers (4-6 years old): This age group allows for more creativity. You can create a simple red skirt with white felt polka dots or use a red tutu. Pair it with a plain white t-shirt and black leggings or tights.
-
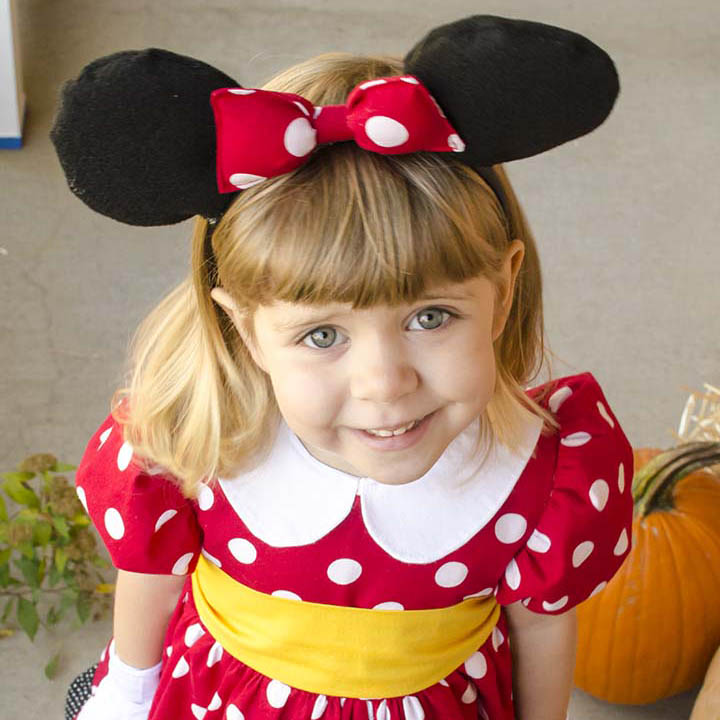
For School-aged Children (7 and above): Older kids might appreciate a more elaborate costume. You can make a dress from scratch or use a red dress you already have and add polka dots. Don’t forget the iconic yellow shoes and black gloves!
Crafting Your Mini Mouse Magic
Now, let’s get into the nitty-gritty of creating your Mini Mouse masterpiece! Here’s a breakdown of the key components and how to make them:
The Dress or Skirt:
-
Option 1: Pre-made Dress: The easiest option is to find a red dress with white polka dots at a store.
-
Option 2: DIY Dress: If you’re feeling crafty, you can make a simple dress from red fabric. Here’s a basic guide:
- Find a t-shirt that fits your child well and lay it flat on fabric. Trace the outline, adding extra width for the skirt.
- Cut out two pieces of fabric from the outline and sew them together at the shoulders and sides, leaving openings for the arms and head.
- To create the skirt, cut a long rectangle of red fabric and gather it at the top to attach to the bottom of the bodice.
-
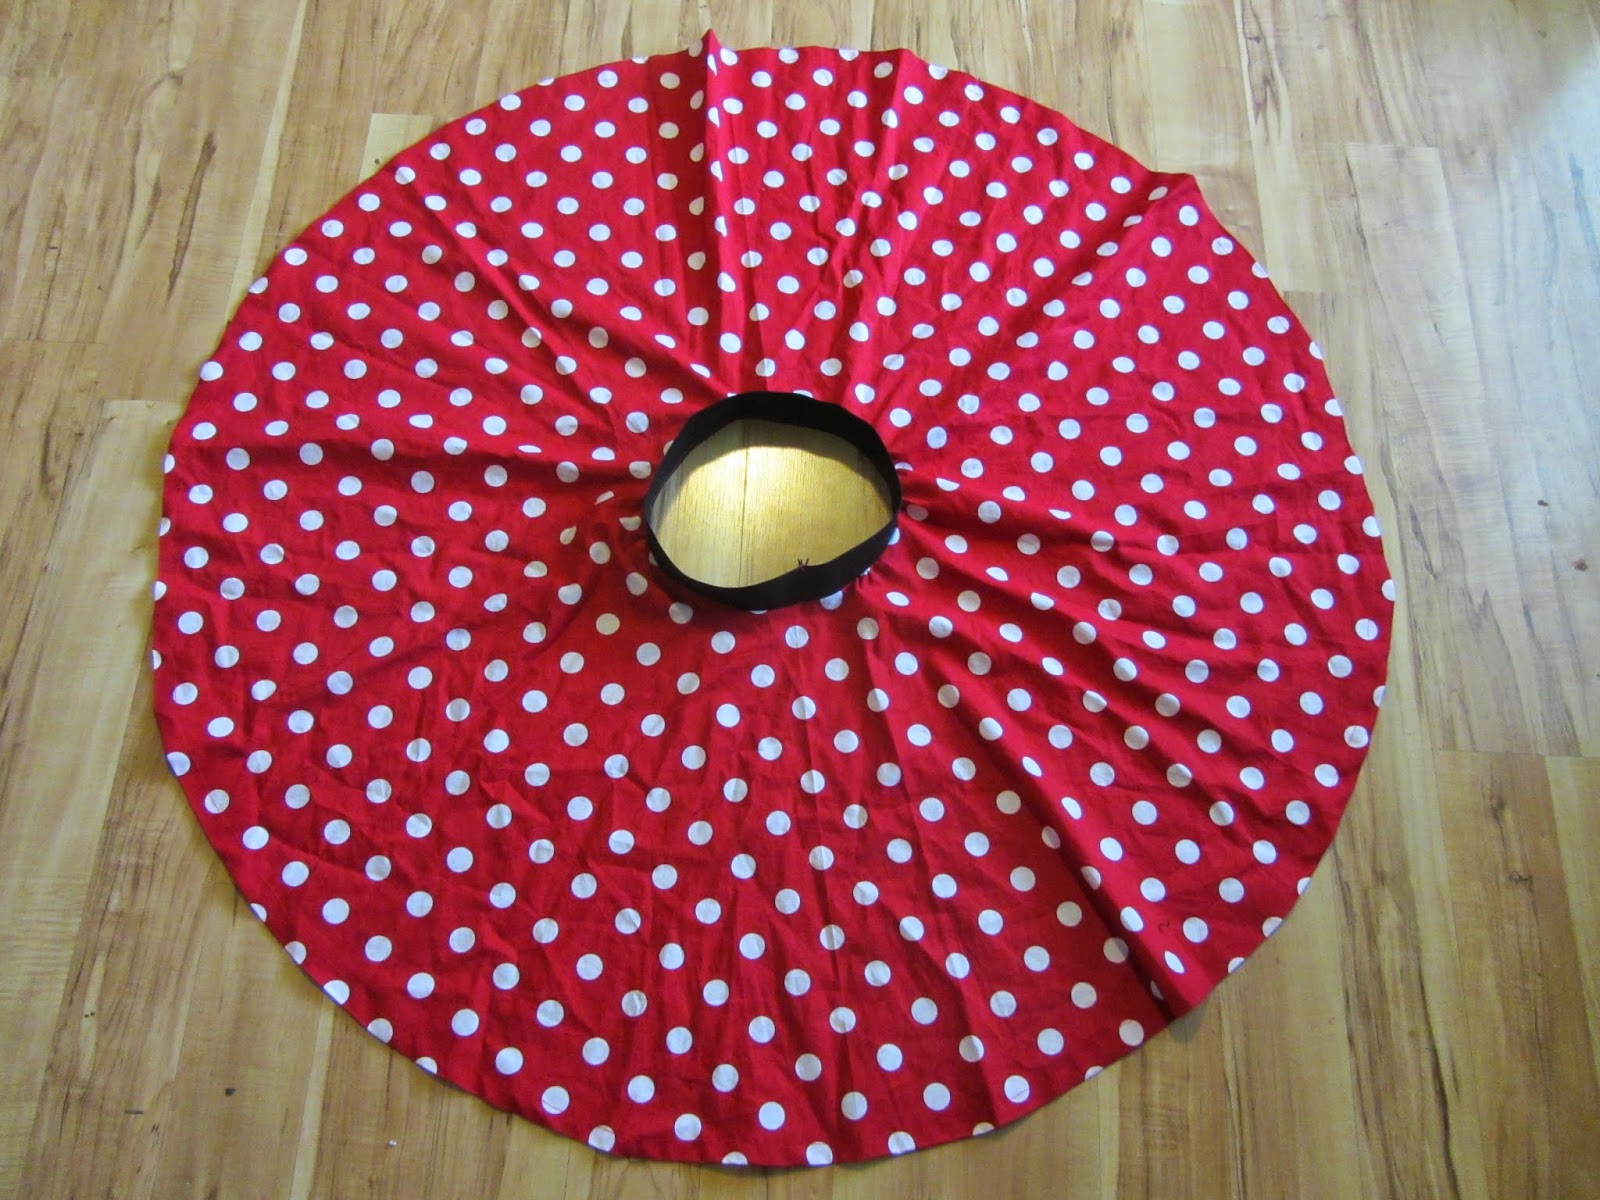
Option 3: DIY Skirt: For a quicker option, create a simple skirt. You can use red felt or fabric and cut out a rectangle with a hole big enough for your child’s waist in the center. Add elastic around the waist opening for a secure fit.
The Polka Dots:
- For any dress or skirt option: Use white felt or fabric paint to create polka dots. Cut out circles from the felt or use a fabric paint bottle to create dots directly on the red fabric.
The Ears:
These are a quintessential part of the Mini Mouse look!
- Option 1: Headband with Ears: Find a pre-made headband with attached black Minnie Mouse ears at a store.
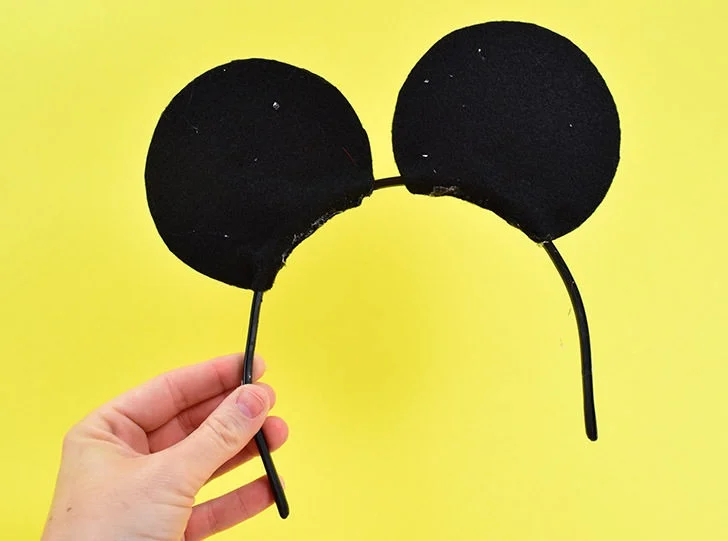
- Option 2: DIY Ears: Cut out two large black circles and two slightly smaller white circles from felt. Glue the white circles onto the black circles and attach them to a headband. You can use hot glue or fabric glue for this step.
The Finishing Touches:
- Yellow Shoes: Complete the look with a pair of bright yellow shoes. You can find these at most shoe stores or even paint a pair of white shoes yellow.
- Black Gloves: Add a touch of elegance with a pair of black gloves.
- Bow: No Minnie Mouse costume is complete without a signature red bow! Cut out a large red bow shape from felt and glue it to a black felt circle (the center of the bow). You can then attach the bow to the headband with the ears or to a red hair clip.
How to include mini mouse-inspired props
Photo Booth Fun:
- Giant Mickey Mouse Ears: Cut out large black Mickey Mouse ears (twice the size of the headband ears) from cardboard or foam board. Paint them black and add a red polka dot center. Attach a dowel or stick to the back for easy holding.
- Speech Bubbles: Create fun speech bubbles with phrases like “Oh, Boy!” or “So Swell!” in Minnie’s signature font. You can attach them to wooden dowels for easy holding.
- Cheese Cutout: Minnie loves cheese! Cut out a large wedge of yellow cheese from foam board and paint details like holes.
Interactive Props:
- Miniature Purse: Cut out a small red purse shape from felt and decorate it with a white polka dot bow. You can even add a strap made from ribbon.
- Microphone: Craft a simple microphone prop from cardboard or black paint a plastic cup. Add silver glitter or tape for a microphone effect.
- Ice Cream Cone: Create a giant ice cream cone prop from pink or red foam board. Decorate it with a scoop of “ice cream” made from white felt and a red cherry on top.
Themed Decorations:
- Minnie Mouse Silhouette Cutouts: Cut out large Minnie Mouse silhouettes from black cardboard and place them around the party space.
- Honeycomb Decorations: Minnie loves picnics! Create honeycomb decorations from yellow construction paper and hang them around the room.
- Balloons: Fill the space with a mix of red, white, and black balloons for a festive touch.
Remember: These are just a few ideas to get you started! Use your creativity and personalize the props to match your Mini Mouse theme.
Taking it Up a Notch: Accessories and Details
For an extra dose of Minnie magic, consider these additional details:
- Tail: Cut out a small oval shape from black felt and stuff it with cotton. Attach it to the back of the skirt or pants with a safety pin.
- Makeup (For Older Kids): Apply a touch of red lipstick and black eyeliner for a truly glamorous Minnie look.
Remember: When crafting your Mini Mouse costume, the most important thing is to have fun and be creative! Don’t be afraid to experiment and personalize the costume to your child’s liking.
Bonus Tip: If you’re short on time, you can always find pre-made Minnie Mouse costumes at most costume stores.