Introduction
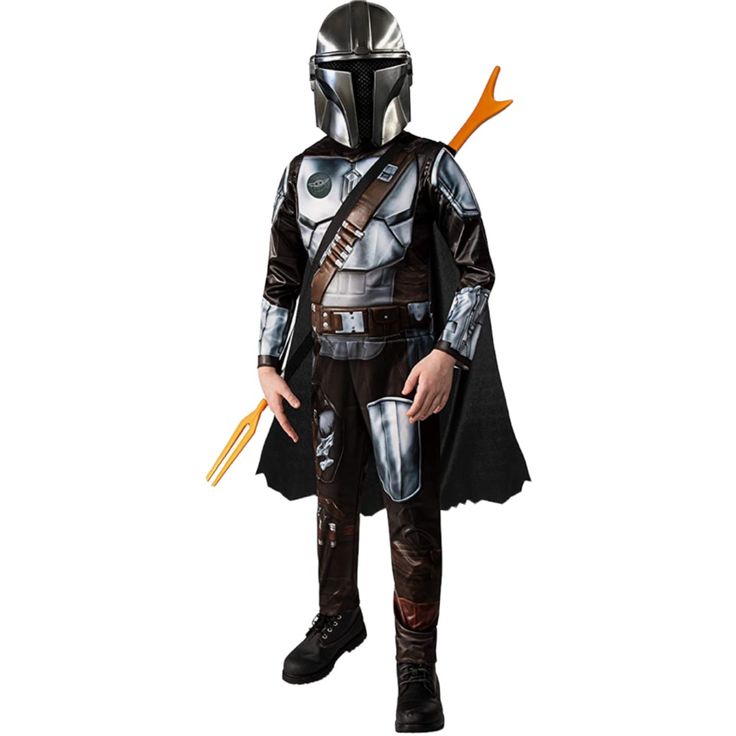
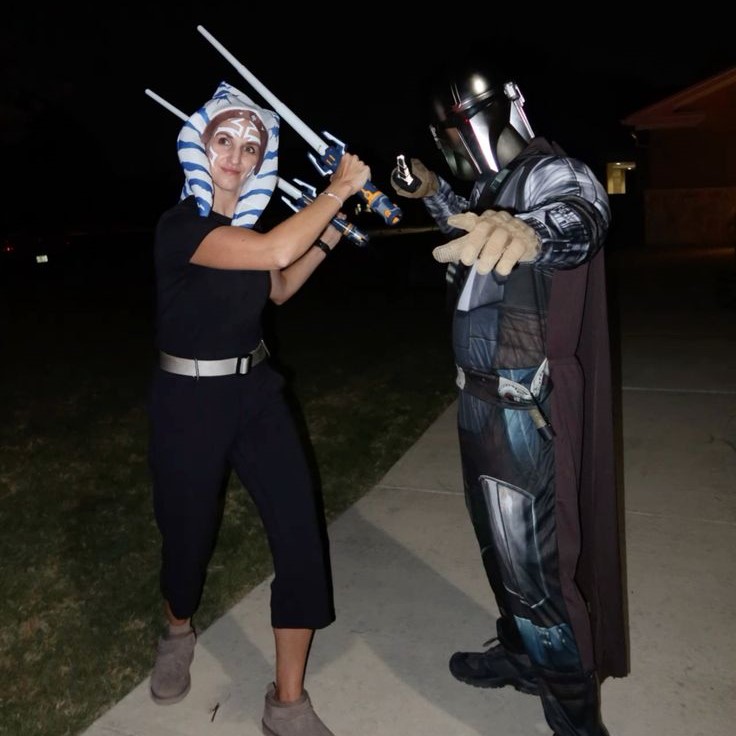
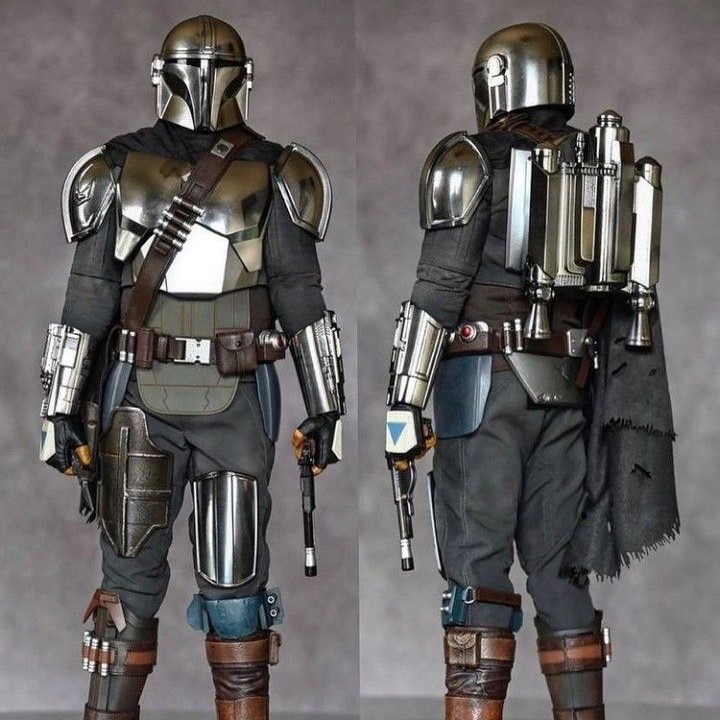
Creating a DIY Mandalorian costume is an exciting journey into the realm of crafting and imagination. Whether you’re a seasoned costume maker or a beginner eager to step into the universe of ‘The Mandalorian’, this guide is designed to assist you in your endeavor. This step-by-step blog offers tips for sourcing materials, preparing templates, building armor, and putting together the finer details of your costume. From carving out armor pieces from cardboard to adding the intricate weathering effects for realism, we cover it all. Get ready to craft a costume that would impress even the keenest member of the Mandalorian guild.

The foundation of any great DIY costume involves gathering the right materials and tools, understanding the templates, and mastering the armor construction. Following this guide, you’ll learn how to make a Mandalorian costume with resources that could be right at your fingertips. We aim to simplify the process, making it accessible and fun, while ensuring your finished product looks as authentic as possible. With a little bit of creativity and dedication, you’ll be able to create a costume that brings your favorite Star Wars character to life. Let’s begin this adventure and dive into the world of DIY costume crafting.
Essential Materials and Tools
To embark on your Mandalorian costume, begin by gathering essential materials and tools. The quality of these basics will shape your project.
Choosing the Right Cardboard
Opt for sturdy, medium-thickness cardboard. Pizza box-like cardboard works well for flexibility and durability. It’s the foundation for your armor.
Selecting Paints and Brushes
Acquire metallic spray paint, particularly silver and color paint, for authenticity. Invest in small brushes for detail work and larger ones for broad strokes.
Finding the Perfect Fabrics
For the undersuit and cape, source strong, color-appropriate fabrics. Grey hues work for the suit, while darker tones suit the cape. Durable fabric is key.
Preparing the Templates
Creating your Mandalorian costume starts with the accurate preparation of templates.
Sizing and Adjustments
First, measure your body parts where the armor will sit. Check downloadable templates online and adjust for your size. Print and cut out the pieces.
Cutting and Assembly Tips
Trace the template outlines onto your chosen cardboard. Use a sharp knife for clean cuts. Assemble multipage templates with tape before cutting. Bend cardboard slightly to mimic armor shape while gluing for a realistic look.

Building the Armor
Shaping and Gluing Techniques
When it comes to building your Mandalorian armor, shaping and gluing are essential. Start by giving each cardboard piece a slight bend. This creates the curvature needed for a more realistic look. Use strong craft glue for bonding – this ensures durability and a smooth finish with no gaps. As you glue, maintain the shape until the adhesive sets. Remember, patience is key during this step to achieve the best results. For complex pieces, consider using binder clips to hold the shape while drying.
Painting and Weathering for Realism
Once shaped and glued, painting adds life to your armor. A white base coat is crucial. It helps colors stand out and ensures uniformity. After the base, apply metallic spray paint for the primary color. Silver gives an authentic Mandalorian look. When painting, cover evenly and let each coat dry before adding another. For weathering, use a small brush to add scratches and scuffs. Darker paints applied with a sponge can mimic grime and battle wear. This step brings depth and character to your armor pieces, transforming them from flat cardboard into realistic gear.
Creating the Helmet
Creating a Mandalorian helmet takes precision and attention to detail. This helmet will be the centerpiece of your costume, so making it look as authentic as the armor is crucial.
Padding for Comfort and Fit
Start by finding a base helmet that resembles the Mandalorian’s signature look. It should be sturdy and fit well. For optimal comfort, add padding inside the helmet. You can use foam from craft stores or repurpose padding from old sports gear. Cut the foam to size and glue it in place inside the helmet. This padding will ensure the helmet stays snug and doesn’t wobble as you move.
Detailing for Authenticity
Once padded for comfort, focus on the helmet details. Use reference photos to add any specific markings or symbols. Small paintbrushes and metallic model paints work well for this task. Apply weathering techniques by lightly using a sponge dipped in dark paint. Add wear marks with silver paint to mimic scratches. If you’re skilled in electronics, consider adding LED lights for a visor effect. Every detail adds authenticity and brings the helmet closer to screen accuracy. Remember, the helmet should not only look the part but also be comfortable to wear for extended periods.
Crafting the Accessories
Alongside the armor, a Mandalorian’s look isn’t complete without the right accessories.
Constructing the Blaster
To construct a Mandalorian blaster, start with a base item like a toy gun. Use cardboard or PVC piping for the barrel. Wrap with black tape for a sleek finish. Add small buttons or dials with craft foam for detail. Spray paint it all black, then add silver weathering for realism.
Sewing the Undersuit and Cape
For the undersuit, choose a stretchy grey fabric for ease of movement. Sew the pants and top separately. Add panels or quilting to mimic the show’s design. For the cape, cut a large rectangle from dark, durable fabric. Hem the edges for a clean finish and attach to the shoulders with snaps or Velcro.
Creating the Belt and Bandolier
Use thick brown vinyl or leather to make the belt and bandolier. Cut to size and punch holes for buckles or clasps. Add pouches for the bandolier by folding squares of fabric and securing with stitching or glue. Accent with metallic paint or metal pieces for buckles and ornamentation.

Final Assembly
The last stage in creating your DIY Mandalorian costume is the final assembly. Here’s how to put all the pieces together effectively.
Attaching Armor Pieces to Clothing
To attach armor pieces securely to your clothing, use industrial-strength Velcro. Cut Velcro strips and stick the softer side to the inside of the armor and the rougher side to the clothing where the piece will be placed. Ensure proper alignment before pressing firmly for a good adhesive bond. For more permanent attachment and weight support, consider sewing snaps or buckles onto the fabric and armor.
Adding Finishing Touches
For the final touches, look over each armor piece for any missed details. Use a small brush to add any extra weathering or to touch up paint. If your costume includes a cape or cloth accessories, verify they are securely fastened and drape correctly. Add any additional accessories, like a toy blaster or holster. These small details will pull the entire look together. Lastly, try on your full costume to ensure everything fits comfortably and adjustments are made if necessary.
Remember, the essence of a great Mandalorian costume lies not only in its visual appeal but also in its wearability. Use lightweight materials and comfortable fabrics to ensure you can move freely. Now, suit up and embrace the way of the Mandalore with pride!
Conclusion and Tips for Wearability
As you finish your DIY Mandalorian costume, remember comfort and ease of movement are vital. Your costume should not only look stunning, but also allow you to move freely. Here are final tips to ensure wearability:
- Choose lightweight materials: This makes the costume easier to wear for longer periods.
- Secure attachments: Ensure all armor is fixed firmly to avoid slips and falls.
- Test fitting: Wear the costume at home to check for any discomfort before the big reveal.
- Flexible fabrics for undersuits: This helps with movement and provides a better fit.
- Allow for extra space: Especially if you plan to wear your costume in colder weather with layers underneath.
- Break in your boots: If your costume includes boots, wear them in advance to avoid blisters.
- Hydration: Plan for how you will drink water, you might choose a straw-friendly helmet design.
- Easy removal: In case you need to take off parts of the costume, design it for quick release.
- Visibility: Ensure the helmet’s visor allows for good sight lines so you can enjoy the event.
Crafting your Mandalorian costume is a labor of love, meant to be worn with pride. With these tips, you’re ready to comfortably step into the role of a proud warrior. May your creativity and hard work shine through, and may the experience of handcrafting your costume be as rewarding as showing it off. This is the way to a memorable and comfortable Mandalorian getup.

