Whether you’re a furry enthusiast, a cosplay aficionado, or simply looking to add a unique touch to your Halloween costume, a well-crafted tail can elevate your ensemble to the next level. This guide will walk you through the process of creating a tail, from choosing the right materials to attaching it securely.
Choosing the Right Materials
The first step is to select the materials that will best suit your tail’s design and your comfort level. Here are some popular options:
- Fabric: Choose a sturdy fabric like cotton, canvas, or felt. For a more realistic look, consider using faux fur or animal-print fabrics.
- Filling: Stuffing your tail with materials like polyester fiberfill, foam, or even newspaper can give it volume and shape.
- Wire: For tails that need to be flexible or hold a specific shape, wire can be a valuable addition.
- Hardware: Depending on your attachment method, you may need items like hooks, buckles, or elastic straps.
Creating the Tail Body
Once you have your materials, you can begin constructing the tail body. Here’s a general process:
- Cut the fabric: Measure and cut the fabric to the desired length and width for your tail.
- Sew the sides: Pin the fabric together along the sides and sew them closed using a sewing machine or by hand.
- Fill the tail: Stuff the tail with your chosen filling material. Ensure it’s evenly distributed to achieve the desired shape.
- Close the opening: Sew the remaining opening closed to secure the filling.
Adding Structure and Flexibility
For tails that require additional structure or flexibility, consider these techniques:
- Wire core: Insert a wire core into the tail body before stuffing it. This will allow you to bend and shape the tail as needed.
- Foam padding: Add foam padding to specific areas of the tail for added support and definition.
- Armature: For more complex tail designs, create an armature using wire or plastic tubing to provide a framework for the fabric and filling.
Attaching the Tail
The attachment method will depend on your costume and personal preference. Here are some common options:
- Belt or waistband: Attach the tail to a belt or waistband using hooks, buckles, or elastic straps.
- Harness: For more secure attachment, consider using a harness that distributes the weight of the tail evenly across your shoulders and back.
- Body suit: Sew the tail directly into a body suit or costume base for a seamless look.
Adding Finishing Touches
Once your tail is attached, you can add finishing touches to enhance its appearance:
- Embroidery or appliqués: Decorate your tail with embroidery, appliqués, or other embellishments.
- Paint or markers: Use paint or markers to add details or patterns to the fabric.
- Fringe or tassels: Attach fringe or tassels to the end of the tail for a decorative effect.
Tail Design Ideas
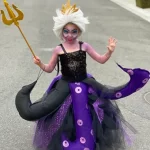
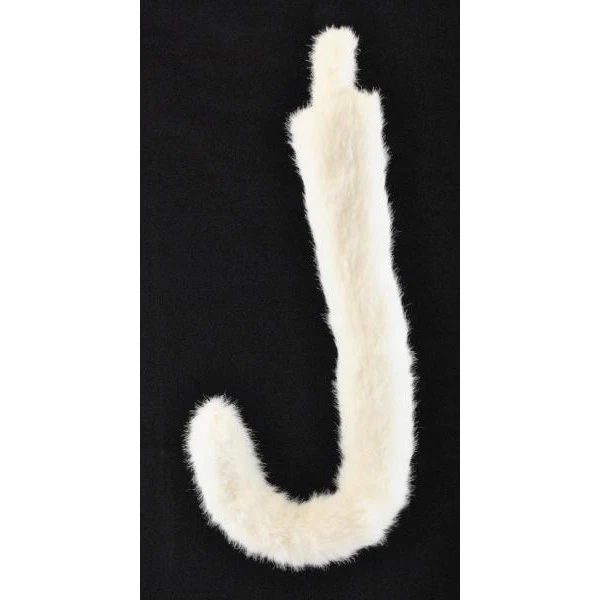
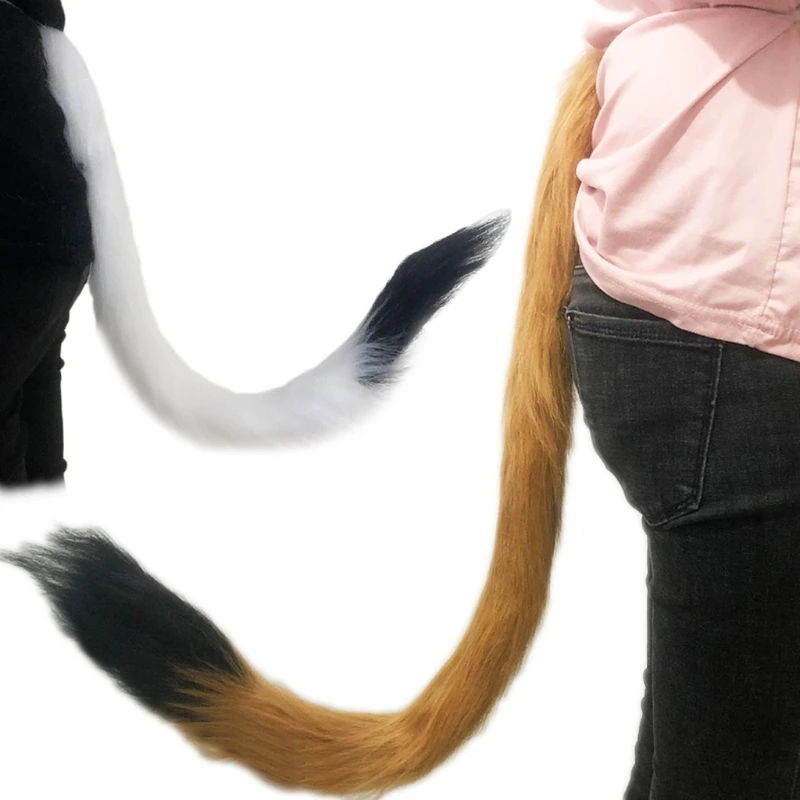
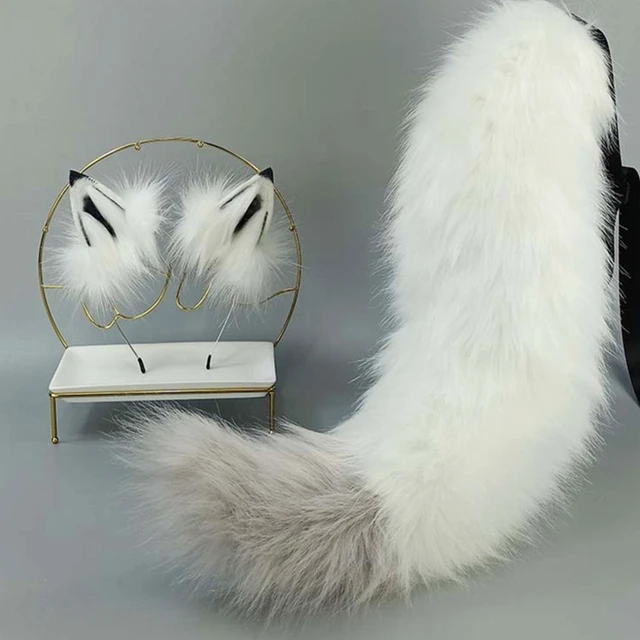
- Animal-inspired tails: Create tails that resemble those of specific animals, such as foxes, wolves, cats, or dragons.
- Fantasy tails: Design tails with unique shapes, colors, and textures that fit your fantasy or sci-fi character.
- Abstract tails: Experiment with abstract shapes and patterns for a more avant-garde look.
Considerations for how the tail will attach to the costume
When designing and creating a tail for your costume, it’s important to consider how it will attach securely and comfortably. The attachment method should be appropriate for the type of tail, the costume, and your desired level of mobility. Here are some factors to consider:
Weight of the Tail:
- Heavier tails: For heavier tails, you may need a more robust attachment method, such as a harness or a body suit.
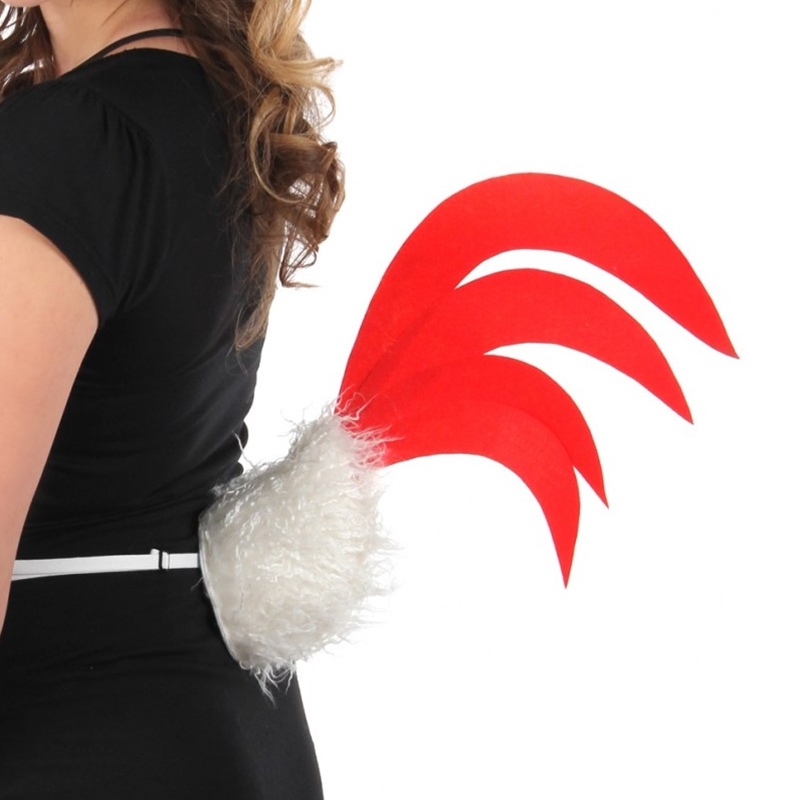
- Lighter tails: Lighter tails can be attached using a belt, waistband, or even a clip.
Costume Design:
- Body suits: If you’re wearing a body suit, you can often incorporate the tail directly into the design, sewing it into the back seam or crotch area.
- Separate pieces: For separate top and bottom pieces, consider attaching the tail to a belt or waistband.
- Harness: A harness can be a versatile option for attaching tails, especially for costumes that require a lot of movement.
Desired Mobility:
- Limited movement: If you need to be able to move freely without the tail restricting your movements, a flexible attachment method like a belt or harness might be best.
- Restricted movement: If the tail is meant to be stationary or only move slightly, a more rigid attachment method, such as sewing it into a body suit, could be appropriate.
Comfort:
- Weight distribution: Ensure that the attachment method distributes the weight of the tail evenly to avoid discomfort.
- Padding: Consider adding padding to areas where the tail attaches to prevent chafing or irritation.
Ease of Removal:
- Temporary attachment: If you need to be able to remove the tail easily, opt for an attachment method that is easy to undo, such as a buckle or clip.
- Permanent attachment: If the tail is meant to be a permanent part of the costume, you can sew it securely in place.
By carefully considering these factors, you can choose the best attachment method for your tail and ensure that it is both comfortable and secure.
Tips for Comfort and Durability
- Adjust the weight: Ensure the tail is not too heavy to wear comfortably. You may need to adjust the filling or attachment method.
- Consider mobility: If you need to be able to move freely while wearing the tail, choose a design that allows for flexibility.
- Care and maintenance: Store your tail properly when not in use and clean it regularly to maintain its appearance and durability.
Advice on how to add details such as stripes, spots, or scales to the tail
Once you’ve constructed the basic tail body, you can add details like stripes, spots, or scales to enhance its realism and visual appeal. Here are some techniques to consider:
Fabric Painting
- Choose the right paint: Acrylic paints are a popular choice for fabric painting due to their durability and wide range of colors. Fabric markers can also be used for smaller details.
- Prepare the fabric: Wash the fabric to remove any sizing or finishes that may interfere with the paint’s adhesion. Iron it to ensure it’s smooth and wrinkle-free.
- Apply the design: Use a stencil, freehand drawing, or a projector to transfer your desired pattern onto the fabric. Paint the stripes, spots, or scales carefully, following the outlines.
- Let it dry: Allow the paint to dry completely before handling or adding additional layers.
Appliqués
- Select appropriate materials: Choose fabrics or felt that match the color and texture of your tail. You can use pre-cut appliqués or cut your own shapes.
- Position and secure: Arrange the appliqués on the tail body according to your design. Use fabric glue, sewing stitches, or iron-on adhesive to attach them securely.
Embroidery
- Choose the right thread and needle: Select embroidery floss or thread that matches the color and thickness of your desired details. Use a needle that is appropriate for the fabric and the type of embroidery you’ll be doing.
- Stitch the design: Follow your pattern or freehand stitch the stripes, spots, or scales. There are various embroidery stitches you can use, such as satin stitch, cross stitch, or French knot stitch.
Stenciling
- Create or purchase a stencil: You can design your own stencil using cardboard or acetate, or purchase pre-made stencils.
- Apply the stencil: Position the stencil on the tail body and secure it in place. Use a paintbrush or sponge to apply paint or fabric marker through the stencil openings.
- Remove the stencil carefully: Once the paint is dry, gently remove the stencil to reveal the desired pattern.
Faux Fur or Fabric Patches
- Cut and arrange: Cut pieces of faux fur or fabric in the desired shapes and sizes for your stripes, spots, or scales. Arrange them on the tail body according to your design.
- Attach securely: Use fabric glue, sewing stitches, or iron-on adhesive to attach the patches firmly to the tail.
Tips for Adding Details
- Plan your design: Sketch out your desired pattern on paper before applying it to the tail.
- Start with lighter colors: If you’re using multiple colors, start with lighter shades and gradually add darker ones.
- Practice on a scrap piece: If you’re new to fabric painting or embroidery, practice on a scrap piece of fabric first to get comfortable with the techniques.
- Consider the tail’s movement: If your tail will be moving around a lot, choose details that are durable and won’t easily come off.
- Have fun and be creative: Don’t be afraid to experiment with different techniques and materials to achieve your desired look.
By combining these techniques and using your imagination, you can create a tail that is truly unique and visually stunning.
Creating a custom tail for your costume can be a rewarding and fun experience. By following these steps and experimenting with different materials and techniques, you can craft a unique and eye-catching accessory that complements your overall look.