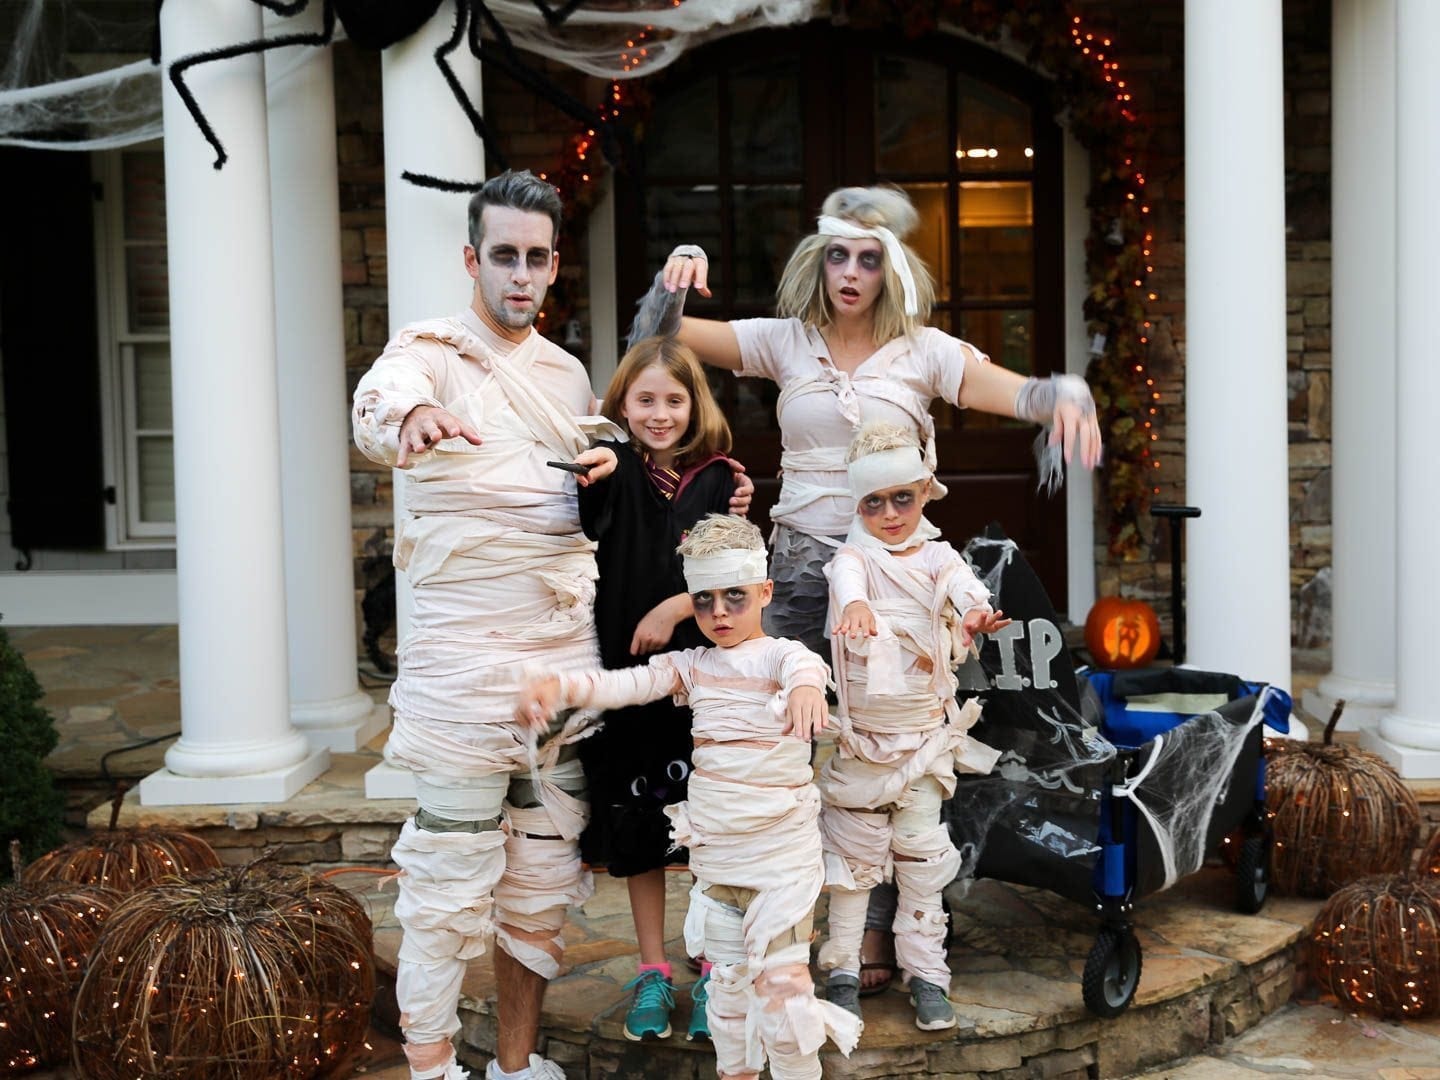
Halloween is around the corner, and the age-old question arises: what costume to wear? Look no further than the classic mummy – a timeless and easy-to-make outfit that’s perfect for all ages. With a few readily available materials and some creativity, you can transform yourself into a bandaged wonder in no time.
Gathering Your Supplies:
First things first, let’s gather the essentials. Here’s what you’ll need:
- Base Clothing: A long-sleeved white shirt and white pants or leggings will form the foundation of your mummy. If white isn’t readily available, gray sweatpants turned inside out (the lining is often white) can work in a pinch.
- Wraps: This is where the magic happens! You can use various materials for the bandages – old white bedsheets, muslin cloth, cheesecloth, or even toilet paper (though this might be less durable).
- Scissors: To cut your wraps into strips.
- Safety Pins (Optional): While not necessary, safety pins can help secure the wraps, especially around the head and wrists.
- Coffee or Tea (Optional): For an extra touch, you can age your wraps by dyeing them with coffee or tea.
- Makeup (Optional): Pale foundation and dark circles can enhance your mummy’s undead look.
Creating the Aged Bandages (Optional):
If you want to give your costume an extra spooky, timeworn feel, consider dyeing your wraps. Here’s how:
- Brew a Strong Batch: Make a large pot of strong coffee or tea. The longer you steep the tea or coffee, the darker the dye will be.
- Soak and Simmer: Submerge your strips of fabric in the hot coffee or tea for at least 30 minutes, or up to a few hours for a more intense color.
- Rinse and Dry: Once you’ve achieved the desired shade, rinse the fabric thoroughly in cold water and hang it to dry completely.
The Wrapping Process: The Fun Begins!
Now comes the exciting part – transforming yourself into a mummy!
- Rip or Cut: Tear your fabric strips into varying lengths. Aim for a mix of short, medium, and long strips to create a more realistic mummy effect. Don’t worry about being too precise; ragged edges add to the mummy’s aged look.
- Start Wrapping: Begin wrapping your base clothing. Start from the ankles and work your way up, overlapping the strips as you go. You can secure them in place with safety pins if needed.
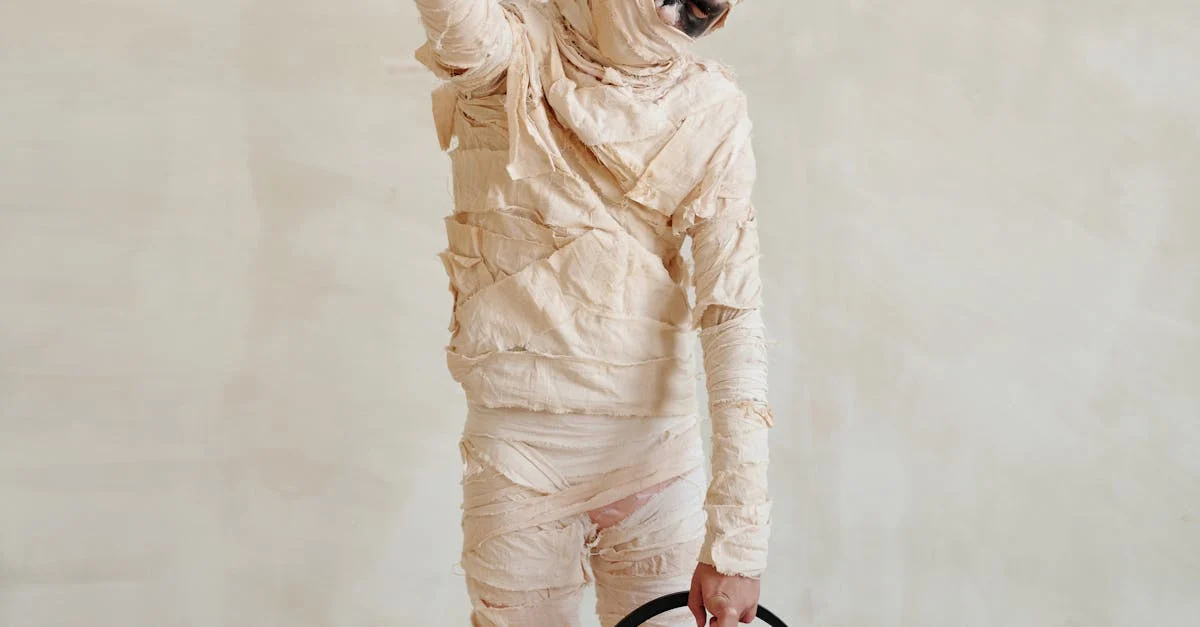
- Wrap It Up: Wrap your arms, torso, and head, leaving small openings for your eyes and mouth. Don’t forget to wrap your legs, making sure you can still move comfortably.
- The Finishing Touches: After you’ve wrapped yourself completely, go back and add more strips here and there to fill in any gaps and create a layered effect.

Taking Your Mummy Costume to the Next Level:
For those who want to elevate their mummy costume, here are a few additional tips:
- Accessorize: Add some creepy jewelry like plastic scarabs or beetles. You could even carry a replica pharaoh’s staff for an extra touch of authenticity.
- Makeup Magic: Apply pale foundation and dark circles around your eyes to create a gaunt, undead look. You can also add some fake dirt or grime for extra realism.
- Light Up the Night: Attach glow sticks or battery-operated tea lights (with adult supervision) underneath your wraps for an eerie glow-in-the-dark effect.
Variations on a Classic:
The beauty of the mummy costume is its versatility. Here are a few variations to consider:
- Royal Mummy: Accessorize with a golden headband or pharaoh’s headdress to transform yourself into a royal mummy.
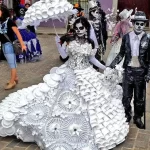
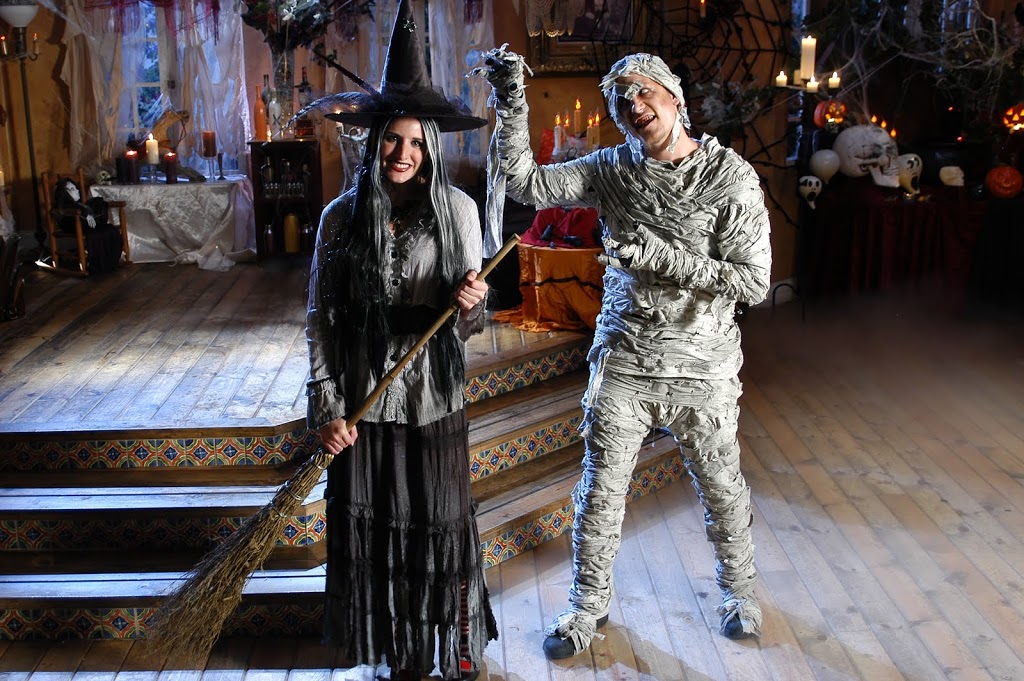
- Mummy Couple: Coordinate your costume with a partner and create a pair of mummies for a fun couples’ costume.
- Mummified Animal: Wrap your pet’s favorite stuffed animal in strips of fabric for a cute and miniature mummy companion.

Considering additional accessories like bandages, gauze, or fake blood
Accessorize for an Extra Undead Touch:
- Bandage Bliss: Don’t just wrap yourself in bandages – accessorize with them too! Drape a separate piece of ripped gauze across your chest like a sling or tie a strip around your bicep for a mummy warrior vibe.
- Gauze Glory: Gauze adds a wonderfully tattered texture. Let some strips hang loosely from your arms or wrists, or create a tattered veil to drape over your head for a mysterious effect.
- Fake Blood Fear: A touch of fake blood can take your mummy costume from spooky to spectacular. Dab some on your bandages around the wrists, ankles, or head to create the illusion of fresh wounds. Be sure to choose a fake blood formula that is safe for skin and clothing.
Pro-Tip: Apply the fake blood after you’ve wrapped yourself and secured most of the bandages. This will prevent the blood from staining your base clothing.
Tips for maintaining the costume throughout the night
Securing the Wraps:
- Safety Pin Power: While wrapping, strategically place safety pins at key points like the shoulders, wrists, and ankles. This prevents the wraps from unraveling as you move and dance.
- Double Trouble: When wrapping, consider layering two strips instead of one. This adds thickness and makes the costume less likely to tear or snag.
- Start from the Bottom: Begin wrapping from your ankles and work your way up. This creates a secure base that won’t loosen as you walk or sit.
Movement Matters:
- The Comfort Factor: Choose breathable base clothing like cotton to avoid overheating. This is especially important if you’ve dyed your wraps, as damp fabric can feel uncomfortable.
- Take Breaks: Mummies may be known for their stillness, but you’ll want to take breaks throughout the night. Take off your top layer of wraps for a few minutes to cool down and prevent sweat from making them stick.
- Mind Your Manners: Be mindful when sitting or leaning against surfaces. Rough textures can snag your wraps, so choose smooth surfaces to rest on.
Repair on the Go:
- Pack a Mini Kit: Stash a small sewing kit or safety pins in your pocket for quick repairs if any tears or snags occur.
- Double-Sided Tape: Double-sided tape can be a lifesaver for small fixes. Use it to reattach loose strips or secure makeup in place.
- The Power of Tucking: If a wrap comes loose but isn’t damaged, simply tuck it back under other layers. The layered effect will help conceal the fix.
By incorporating these tips, you can ensure your mummy costume stays put, allowing you to enjoy a frightfully fun Halloween night!
With a little creativity and these simple steps, you can create a fantastic mummy costume that’s sure to turn heads (or lack thereof) this Halloween. So, gather your supplies, unleash your inner mummy, and get ready to have a spooktacular time!