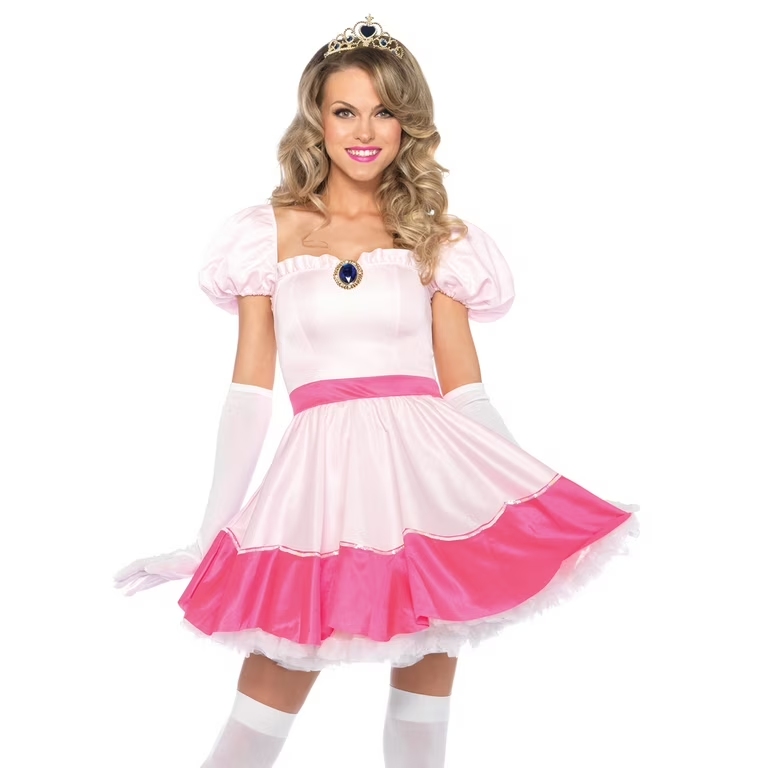
Ever dreamed of stepping into the Mushroom Kingdom and saving Princess Peach? Well, with a little creativity and elbow grease, you can bring your Mario fantasies to life. Let’s dive into the world of DIY and create a stunning Mario costume that’s sure to make everyone green with envy.
Gathering Your Supplies
Before you start crafting, make sure you have all the necessary materials. Here’s a basic list:
- Red and white fabric: For the jumpsuit.
- Blue fabric: For the hat.
- White felt: For the mustache.
- Black felt: For the eyes and boots.
- Elastic: For the hat and waist.
- Stuffing: For the hat.
- Scissors, needle, and thread: For sewing.
- Hot glue gun and sticks: For attaching details.
- Paint and brushes: For detailing.
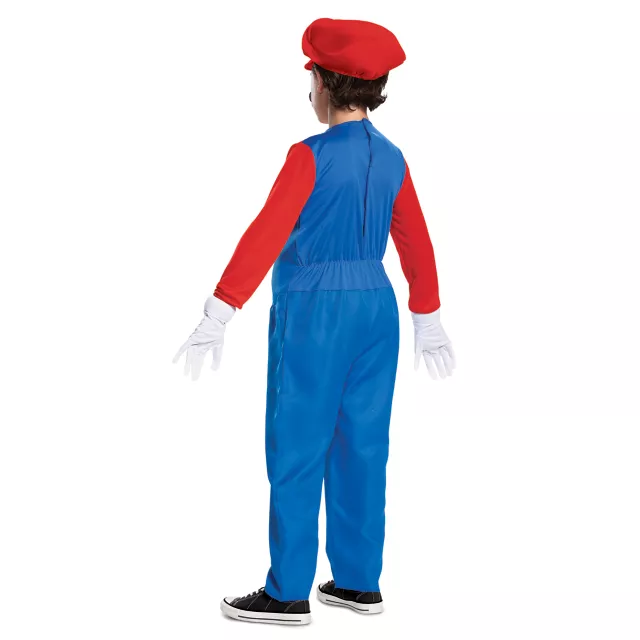
Creating the Jumpsuit
- Measure and cut: Measure your body for the jumpsuit. Cut out two rectangles of red fabric for the front and back, and two rectangles for the sleeves.
- Sew the sides: Sew the sides of the front and back pieces together.
- Attach the sleeves: Sew the sleeves to the armholes.
- Create the legs: Fold the bottom of the jumpsuit in half and sew to create the legs.
- Add the white details: Cut out white fabric shapes for the overalls and buttons. Pin and sew them onto the jumpsuit.
Making the Hat
- Cut the shape: Cut out a circle of blue fabric.
- Create the brim: Fold the edge of the circle inward and sew to create the brim.
- Stuff and shape: Stuff the hat with stuffing and shape it into a mushroom cap.
- Attach the elastic: Sew an elastic band to the inside of the hat to secure it to your head.
Designing the Mustache and Eyes
- Cut the mustache: Cut out a mustache shape from white felt.
- Attach the mustache: Glue or sew the mustache to your upper lip.
- Create the eyes: Cut out circles from black felt for the eyes.
- Attach the eyes: Glue or sew the eyes above your nose.
Adding the Finishing Touches
- Make the boots: Cut out boot shapes from black felt. Attach them to your shoes with glue or Velcro.
- Paint the details: Use paint to add any additional details, such as the “M” on your hat or the coins on your overalls.
Tips for crafting the blue overalls
Choose the Right Fabric:
- Lightweight, breathable fabric: Opt for materials like cotton or linen that are comfortable to wear for extended periods.
- Durable fabric: Ensure the fabric can withstand the wear and tear of being worn and washed multiple times.
Create a Template:
- Measure accurately: Take precise measurements of your body to ensure a perfect fit.
- Draw the shape: Sketch out the overalls on paper, considering the desired style and features (e.g., pockets, straps).
Cut the Pieces:
- Lay out the fabric: Place the fabric flat and use the template to cut out the necessary pieces for the front, back, straps, and pockets.
- Double-check: Verify that all pieces are cut to the correct size and shape.
Sew the Straps:
- Pin and sew: Pin the straps to the top of the back piece, ensuring they are evenly spaced and secure.
- Reinforce with stitching: Add a second line of stitching for durability.
Attach the Front and Back:
- Pin and sew: Pin the front and back pieces together along the sides and crotch.
- Create a clean finish: Use a serger or zigzag stitch to prevent fraying.
Add the Pockets:
- Pin and sew: Pin the pockets to the desired location on the front pieces.
- Reinforce with stitching: Sew the pockets securely in place.
Hem the Bottoms:
- Fold and pin: Fold the bottom edges of the overalls inward and pin them in place.
- Sew the hem: Sew the hem using a straight stitch or a zigzag stitch.
Add Details:
- Buttons or snaps: Attach buttons or snaps to secure the overalls.
- Embroidery or patches: Personalize the overalls with decorative elements.
Try on and Adjust:
- Fit check: Try on the overalls to ensure they fit comfortably.
- Make adjustments: If necessary, make any adjustments to the fit or style.
Additional Tips:
- Consider a lining: For added comfort and warmth, consider lining the overalls with a soft fabric.
- Use a belt: A belt can help cinch the waist and create a more defined silhouette.
- Experiment with styles: Don’t be afraid to experiment with different styles, such as overalls with suspenders or cargo pockets.
By following these tips, you can create a pair of stylish and functional blue overalls that complement your Mario costume perfectly.
Tips for a Perfect Costume
- Pay attention to detail: Small details can make a big difference. Take your time and ensure everything is neat and tidy.
- Use quality materials: Investing in good quality fabric and supplies will result in a more durable and professional-looking costume.
- Practice wearing the costume: Try on the costume a few times before your event to ensure it fits comfortably and is easy to move in.
- Have fun! Creating a costume is a creative and rewarding experience. Enjoy the process and have fun with it.
Additional details to enhance the Mario costume
Once you’ve mastered the core elements of your Mario costume, it’s time to add those extra touches that will truly make it stand out. Here are some ideas to elevate your creation:
Accessories and Props
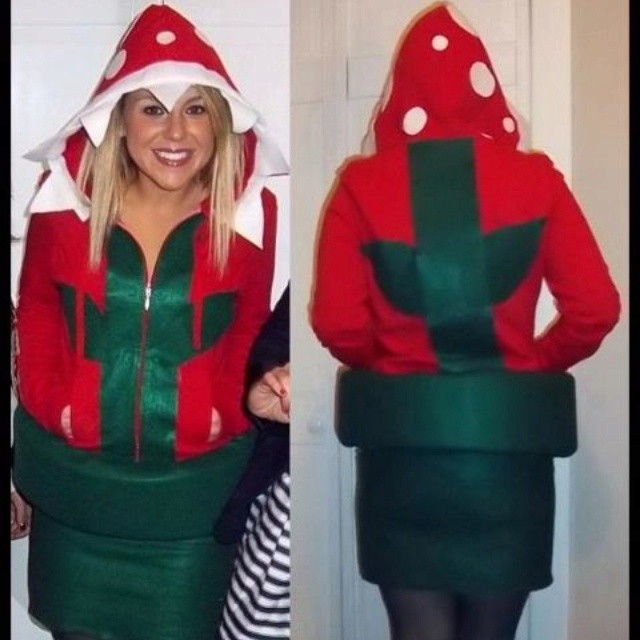
- Power-Up Mushrooms: Create these iconic items using red and white felt. Attach them to a headband or pin them to your jumpsuit.
- Fire Flower: Craft a fire flower from red and yellow felt, with a small green stem.
- Starman: Make a starman using yellow felt and a small piece of string to hang it around your neck.
- Super Mushroom: This can be a larger version of the regular power-up mushroom, perhaps with a red cap and white spots.
- Question Mark Block: Construct a question mark block from brown and yellow felt, with a question mark painted on it.
Customization and Personalization
- Unique Details: Add your personal touch to the costume. For example, you could embroider your initials on the back of your jumpsuit or paint a custom design on your hat.
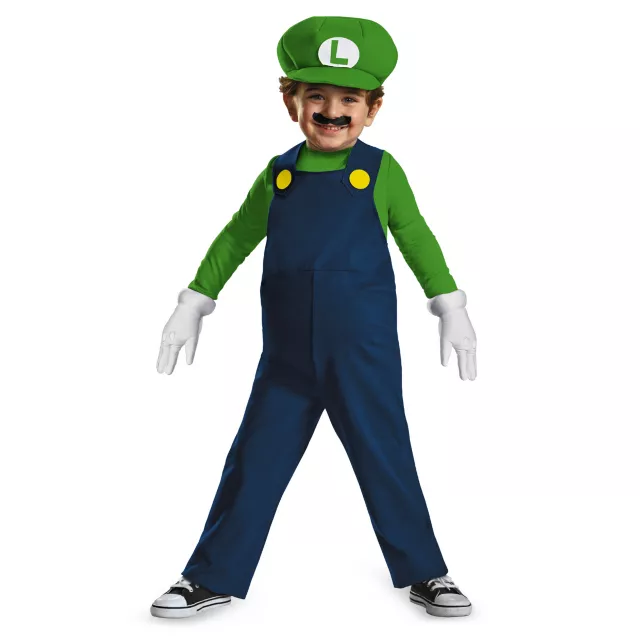
- Character Variations: If you want to be a specific version of Mario, consider adding details like a Super Mario mustache or a Luigi green jumpsuit.
- Matching Outfits: If you’re going to the party with friends or family, consider coordinating your costumes. For instance, you could all be different Mario characters or create a group theme.
Comfort and Functionality
- Padding: For added comfort, consider adding padding to the shoulders, elbows, and knees. This can help prevent discomfort during long periods of wear.
- Ventilation: If you’re attending a hot event, ensure your costume allows for proper ventilation. Choose breathable fabrics and consider adding mesh panels or vents.
- Mobility: Make sure your costume doesn’t restrict your movement. Avoid overly tight garments and choose materials that allow for flexibility.
Safety First
- Visibility: If you’re wearing your costume at night, make sure it’s visible to others. Consider adding reflective tape or lights.
- Footwear: Wear comfortable and supportive footwear that won’t cause blisters or fatigue.
- Heat Safety: If you’re wearing a heavy or insulated costume, be mindful of heat-related issues. Stay hydrated and take breaks in cool areas.
By incorporating these additional details, you can create a truly exceptional Mario costume that will impress your friends and family. Remember, the key to a great costume is attention to detail, creativity, and a touch of fun.
With a little effort and imagination, you can create a stunning Mario costume that will make you the star of any party. So, gather your supplies, put on your thinking cap, and get ready to embark on a DIY adventure. Remember, the most important thing is to have fun and let your creativity shine.