Want to make a splash at your next costume party? Creating a fish costume can be a fun and rewarding project. Whether you’re aiming for a simple or elaborate design, this guide will walk you through the process step-by-step. Let’s dive in!
Choosing Your Fish
The first step is to decide what kind of fish you want to be. This will influence your material choices, color scheme, and overall design. Consider factors like your body shape, the event’s theme, and your personal style. Popular choices include:
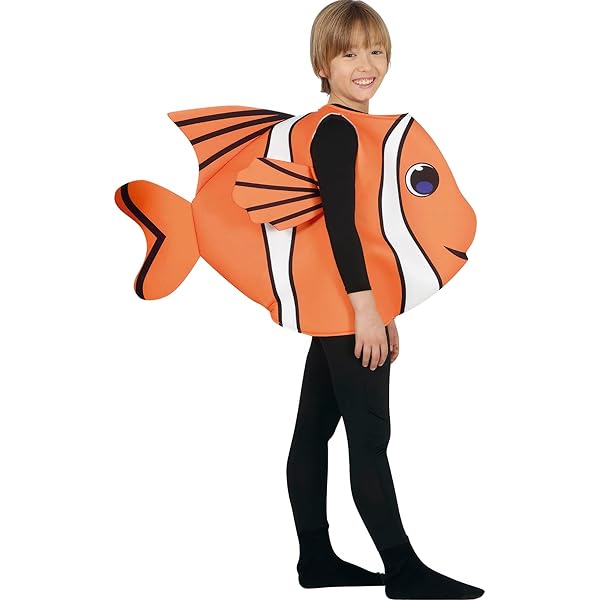
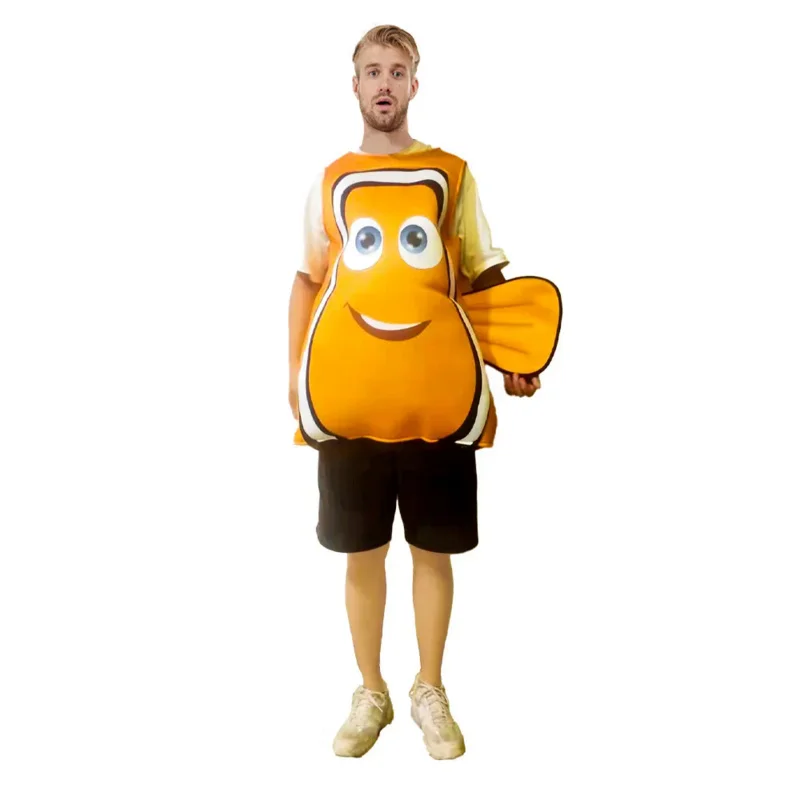
- Clownfish: Bright orange with white stripes
- Goldfish: Classic orange or red
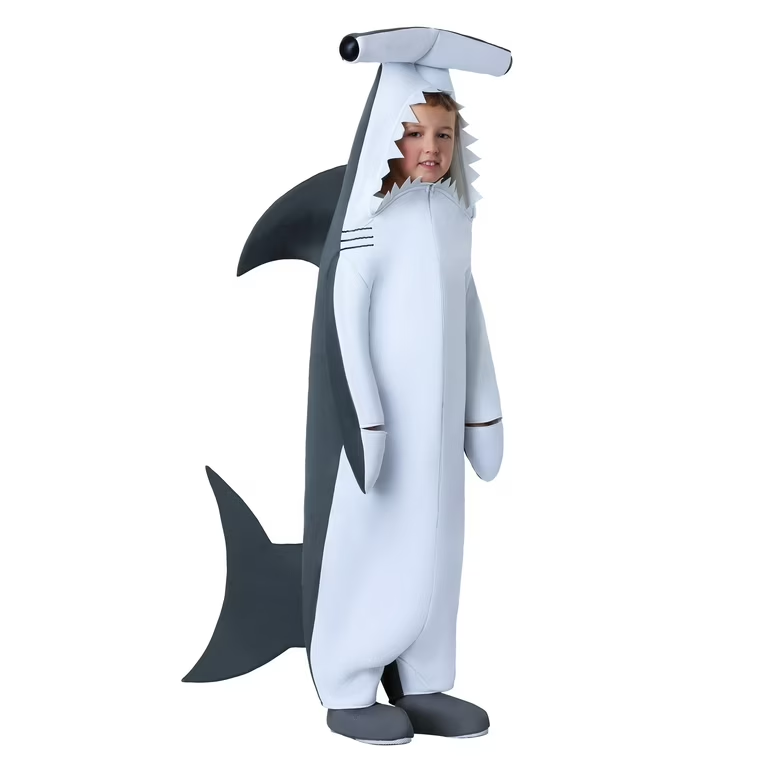
- Shark: Gray or blue with a menacing look
- Tropical fish: Vibrant colors and exotic patterns
Once you’ve picked your fish, you can start gathering materials.
Materials
The specific materials you’ll need depend on your chosen fish design, but here’s a general list to get you started:
- Fabric: Choose a lightweight, stretchy fabric like spandex or jersey knit for the body. For fins and tails, consider using stiffer materials like felt or foam.
- Pattern: You can create your own pattern or find a pre-made one online.
- Sewing supplies: This includes thread, needles, pins, scissors, and a sewing machine (optional).
- Filling: If you’re making a 3D fish head, you’ll need stuffing like cotton or polyester fiberfill.
- Accessories: Depending on your fish, you might need additional items like googly eyes, sequins, or paint.
Creating the Fish Body
- Measure yourself: Take accurate measurements of your body, including your height, chest, waist, and hips.
- Create a pattern: If you’re making your own pattern, draw the basic shape of your fish body on paper. Make sure it’s long enough to cover your body from neck to knees or ankles.
- Cut the fabric: Transfer the pattern to your chosen fabric, allowing for seam allowances. Cut out the pieces.
- Sew the seams: Sew the side seams and shoulder seams of your fish body together.
- Create the neckline: Finish the neckline by turning it under and stitching it closed.
Designing the Fins and Tail
- Create patterns: Draw the shapes of your fins and tail on paper. Experiment with different sizes and shapes to achieve your desired look.
- Cut the fabric: Transfer the patterns to your fabric and cut out the pieces.
- Shape the fins: To give your fins dimension, you can stuff them lightly with batting or create wire supports.
- Attach the fins: Sew or glue the fins to the fish body.
- Create the tail: The tail is often the focal point of a fish costume. You can make it simple or elaborate, depending on your skill level and time.
Making the Fish Head
- Create a headpiece: Use a sturdy material like cardboard or foam to create a basic headpiece.
- Shape the head: Shape the headpiece to resemble your chosen fish’s head.
- Cover the headpiece: Cover the headpiece with fabric or paint it to match your fish’s color.
- Add details: Attach eyes, mouth, and other facial features to the headpiece.

Putting It All Together
- Attach the head: Secure the fish head to the costume using a headband or elastic.
- Add accessories: Complete your look with accessories like a fishnet or seaweed.
Adding the Fish Head
The fish head is the centerpiece of your costume. It’s where you can really bring your character to life. Let’s dive into the process.
Choosing Your Head Base
The foundation of your fish head will determine its shape, size, and overall structure. Here are a few options:
- Cardboard: A versatile and affordable choice, cardboard can be easily shaped and covered.
- Foam: Offers more flexibility and durability than cardboard. It comes in various densities, so choose one that suits your needs.
- Papier-mâché: A classic method for creating organic shapes. It’s time-consuming but allows for intricate details.
- Ready-made mask: If you’re short on time or lack sculpting skills, a store-bought mask can be a good starting point.
Shaping the Head
Once you’ve chosen your base, it’s time to sculpt it into a fish head.
- Sketch a design: Draw the desired shape of your fish head on paper. This will serve as a guide.
- Create a basic structure: Cut and shape your base material to match the basic outline of your fish head.
- Add details: Use additional materials like clay, foam, or cardboard to build out features like the mouth, eyes, and gills.
- Secure elements: Use hot glue, tape, or other adhesives to attach additional parts to the base.
Covering the Head
The next step is to cover your head structure with fabric or other materials.
- Choose your fabric: Select a fabric that matches your fish’s color and texture. Consider using scales or patterns for added realism.
- Prepare the fabric: Cut the fabric into pieces that will cover the entire head.
- Apply the fabric: Use fabric glue or a sewing machine to attach the fabric to the head.
- Add details: Incorporate details like eyes, mouth, and gills using fabric, paint, or other materials.
Attaching the Head to the Body
To complete your fish costume, you’ll need to attach the head to the body.
- Create a headpiece: Make a headband or hat from sturdy material to support the head.
- Secure the head: Attach the head securely to the headpiece using hot glue, tape, or other methods.
- Adjust fit: Ensure the headpiece fits comfortably and allows for good visibility.
Finishing Touches
You’ve built the foundation of your fish costume: the body, fins, and head. Now it’s time to add the final touches that will transform you into a believable aquatic creature.
Adding Lifelike Details
- Scales: For a truly authentic look, consider adding scales to your fish body. You can use sequins, fabric paint, or even small pieces of fabric cut into scale shapes. Experiment with different sizes and patterns to match your chosen fish.
- Gills: Gills are an essential part of any fish costume. You can make them from fabric, foam, or even wire mesh. Attach them to the sides of the headpiece for a realistic effect.
- Eyes: The eyes are the windows to the soul, or in this case, the fish’s personality. Big, round, and expressive eyes can really bring your costume to life. Use fabric, paint, or even pre-made googly eyes.
Accessories and Props
- Bubbles: Nothing says “fish” quite like bubbles. You can purchase a bubble machine or create your own using dish soap and water.
- Underwater plants: Carry a prop of seaweed or other underwater plants to complete your aquatic look. You can make these from green fabric or felt.
- Fishnet tights: For a mermaid-inspired fish costume, fishnet tights can add a touch of glamour and mystery.
Makeup and Hair
- Face paint: Enhance your fish look with face paint. You can create scales, gills, or even a whole underwater scene on your face.
- Hair: Consider styling your hair to match your fish. For example, if you’re a clownfish, you might want to add orange and white streaks.
Comfort and Visibility
- Ventilation: Ensure your costume has adequate ventilation, especially if you’ll be wearing it for a long time. Consider adding mesh panels to the body or headpiece.
- Visibility: If you’re wearing the costume at night, add reflective tape or other safety features to improve visibility.
Tips for a Fin-tastic Costume
- Start early: Give yourself plenty of time to plan and create your costume.
- Experiment with materials: Don’t be afraid to try different materials and techniques.
- Pay attention to detail: Small details can make a big difference.
- Have fun: Enjoy the process of creating your unique fish costume.
By following these steps and letting your creativity shine, you can create a fish costume that will make a splash wherever you go. So, get ready to dive into the world of DIY and transform yourself into a fabulous fish!