For dancers, costumes are more than just clothes; they’re an extension of their artistry. The perfect costume can boost confidence, enhance movement, and bring a character or theme to life. But store-bought options can be expensive and limiting. So, why not create your own masterpiece?
This guide empowers you to transform from audience member to costume creator, taking you through every step of crafting a dazzling dance outfit. Whether you’re a seasoned seamstress or a complete beginner, there’s a path for you. Let’s get started!
Finding Inspiration
Before diving into fabrics and tools, take a moment to brainstorm! What kind of dance style are you creating for? Is there a specific character you’re portraying? Browse online dance costume galleries, watch performances, or revisit classic ballets. Look for colors, silhouettes, and embellishments that resonate with your vision. Don’t be afraid to get creative and combine elements from different sources.
Sketching and Planning
Next, translate your ideas into a tangible form. Sketch your costume design, even if it’s a simple outline. This helps visualize the overall look and identify potential challenges. Consider the following:
- Number of pieces: Will it be a unitard, a two-piece set, or a separate top and skirt?
- Fabric choices: Different fabrics have unique properties. Lycra offers flexibility, while tulle creates flowing skirts. Think about how the fabric will move with the dancer’s body.
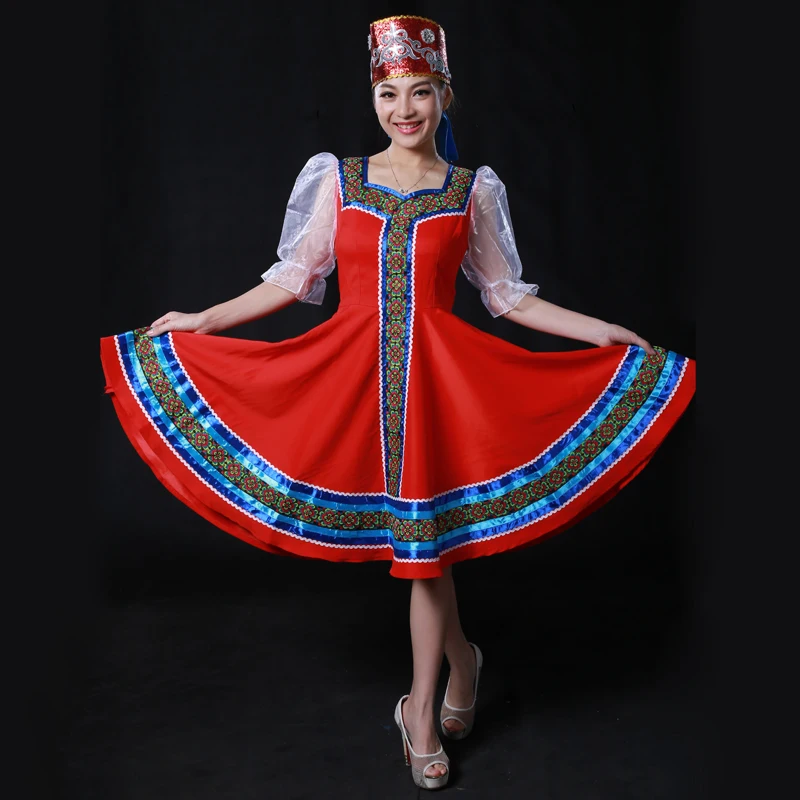
- Color scheme: Colors evoke emotions. Vibrant hues command attention, while pastels create a softer feel.
- Embellishments: Will you add sequins, rhinestones, or ribbons? Consider how these elements will complement the dance style and movement.
Choosing Your Tools and Materials
Now it’s time to gather your supplies! Here’s a basic list to get you started, but you can adjust it based on your design:
- Fabrics (main fabric, lining if needed)
- Sewing machine (or strong thread and needle for no-sew options)
- Scissors, measuring tape, pins
- Elastic (for waistbands, leg openings)
- Trims and embellishments (sequins, ribbons, rhinestones)
For beginners, consider using pre-made dance leotards or leggings as a base. This saves time on construction and allows you to focus on embellishments or creating a skirt.

Sewing or No-Sew?
The good news is, you don’t have to be a sewing whiz to create a stunning costume. Here are two approaches:
- Sewn construction: This offers the most control and allows for intricate designs. However, it requires basic sewing skills. There are many online tutorials and beginner-friendly patterns available to guide you.
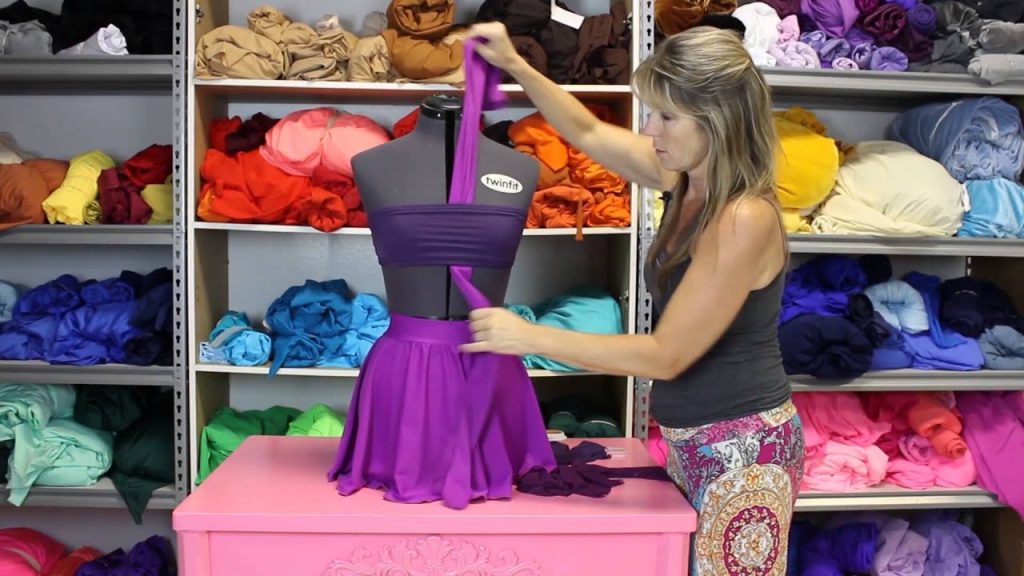
- No-sew construction: This is a fantastic option for beginners or those short on time. Here, you can use fabric glue, safety pins, or heat bonding tools to assemble your costume.
Building Your Costume
With your design finalized and supplies gathered, it’s time to bring your vision to life!
-
Sewn construction: If you’re sewing, follow your chosen pattern or create a simple one by tracing an existing garment that fits the dancer well. Cut your fabric pieces, pin them together, and sew carefully.
-
No-sew construction: Get creative! Here are some ideas:
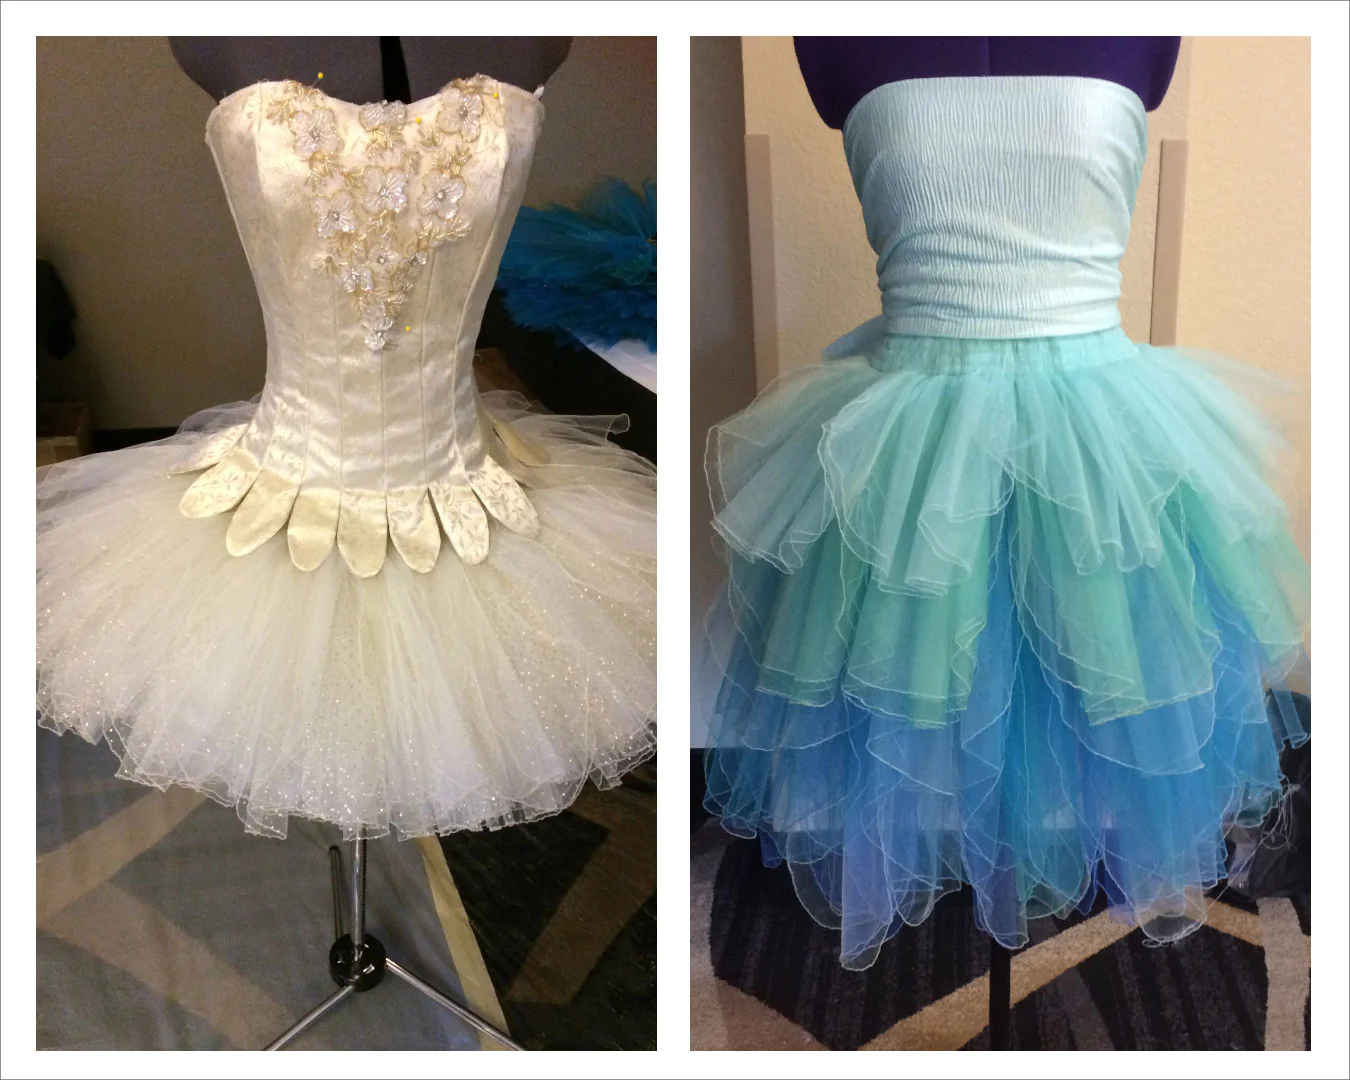
- Tutu skirt: Cut long strips of tulle and tie them around a pre-made elastic waistband.
- Leotard embellishments: Use fabric glue to adhere sequins or rhinestones to a pre-made leotard.
- Wrap skirt: Cut a large rectangle of fabric and secure it with a safety pin or sash.
Adding the Finishing Touches
Once the core construction is complete, it’s time to personalize your creation! Here’s where your creativity truly shines:
- Embellishments: Sew on sequins, rhinestones, or ribbons for a touch of sparkle. Experiment with different shapes, sizes, and placement.
- Accessories: Don’t forget complementary accessories like headpieces, gloves, or leg warmers. These can further enhance the character or theme.
- Fit check: Have the dancer try on the costume and make any necessary adjustments. Ensure it’s comfortable and allows for a full range of motion.
Finishing Touches
Your dance costume is almost complete! You’ve chosen the perfect fabrics, mastered the construction, and now it’s time for the fun part: adding those finishing touches that transform a simple outfit into a theatrical masterpiece. This is where your creativity truly takes center stage, and with a few well-placed embellishments and accessories, you can elevate your costume from ordinary to extraordinary.
Embellishment Extravaganza!
- Sequin Sensations: Sequins add a touch of glamour and sparkle. Sew them on in geometric patterns, create cascading rows, or use them to outline specific features of the costume.
- Rhinestone Rhapsody: Rhinestones offer another level of glitz and shine. Use them to create delicate accents, bold borders, or even dazzling appliques.
- Ribbon Magic: Ribbon adds a touch of whimsy and versatility. Use it to create flowing streamers, delicate bows, or even intricate lacing details.
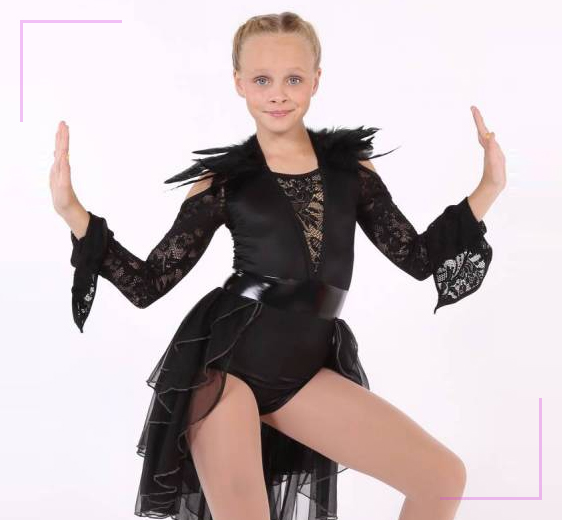
- Feather Frenzy: Feathers add a touch of drama and movement. Experiment with different colors, textures, and lengths to create a truly unique look.
Accessorize to Impress
Don’t forget the power of accessories! The right headband, gloves, or leg warmers can tie your costume together and further enhance the character or theme.
- Headpieces: A jeweled crown for a princess, a floppy hat for a playful character, or a feathered halo for an angelic look – headpieces can add a touch of personality and complete the story.
- Gloves: Long, elegant gloves can add sophistication, while fingerless gloves offer a more modern edge.
- Leg Warmers: Leg warmers come in a variety of colors and textures and can add warmth (during those chilly backstage moments) while also complementing the overall costume aesthetic.
Fit for the Stage: The Final Check
Once you’ve added your finishing touches, it’s crucial to ensure the costume fits the dancer perfectly. Have the dancer try on the complete outfit and make any minor adjustments for comfort and ease of movement. The costume should allow for a full range of motion without being restrictive.
With these finishing touches in place, your dance costume will be more than just an outfit; it will be a confidence booster, a character extension, and a dazzling expression of your creativity.
Care and Maintenance
So you’ve poured your heart and creativity into crafting a show-stopping dance costume. Now, how do you ensure it stays that way? Here are some essential care and maintenance tips to keep your costume looking its best, performance after performance:
Washing with Care
- Ditch the Machine: Dance costumes are delicate and shouldn’t be tossed in the washing machine. Opt for gentle hand-washing with cold water and a mild detergent.
- Spot Cleaning: For minor sweat stains or makeup smudges, spot clean with a damp cloth and a gentle soap solution.
- Embellishment TLC: Be mindful of embellishments like sequins or rhinestones. Avoid harsh scrubbing that could loosen or damage them.
Drying Wisely
- Skip the Dryer: The high heat of a clothes dryer can shrink or damage delicate fabrics. Instead, lay your costume flat on a drying rack or towel to air dry completely.
- Direct Sunlight? No Thanks: Sunlight can cause fading, so avoid drying your costume in direct sunlight. Choose a cool, well-ventilated area.
Storage Matters
- Cleanliness is Key: Before storing your costume, ensure it’s completely dry to prevent mold or mildew growth.
- Breathable Bags: Ditch plastic bags! Opt for breathable garment bags or cotton cloths to allow air circulation and prevent moisture buildup.
- Hanging or Folding? Heavier costumes like tutus can be hung on padded hangers. Lighter garments can be folded neatly and stored on shelves.
By following these simple tips, you can ensure your dance costume stays vibrant, comfortable, and ready to shine on stage!