
The shuffling moans, the vacant stares, the insatiable hunger for brains – zombies have become a cornerstone of horror pop culture. And what better way to celebrate the Halloween season (or a spooky movie marathon) than by transforming yourself into one of these terrifying creatures?
Planning Your Decaying Delight
Before diving headfirst into fake blood and ripped clothing, consider the type of zombie you want to portray. Are they a freshly turned soul, clinging to remnants of their former life? Or a shambling monstrosity, decomposed and hungry for years?

Freshly Turned Terror
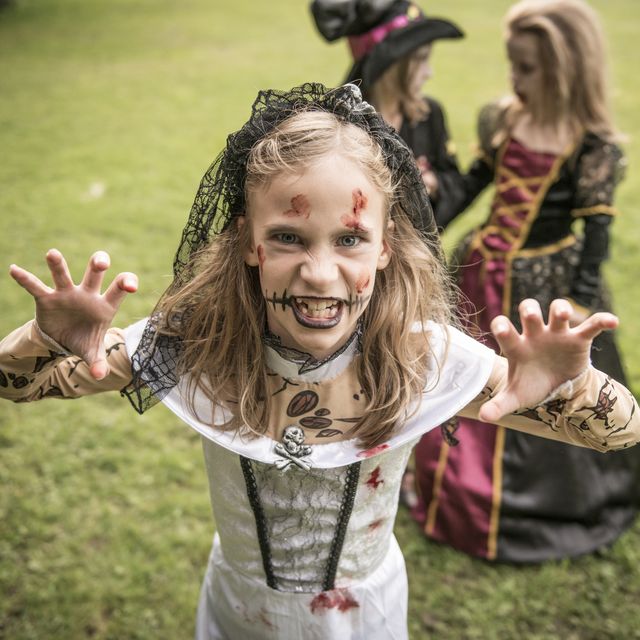
For a recent zombie, tattered yet recognizable clothing is key. Think old jeans ripped at the knee, a blood-stained t-shirt, and a light jacket hanging loosely. Stains of dirt and fake blood will add a touch of realism.
Now, for the makeup! Apply a pale foundation a few shades lighter than your natural skin tone. Highlight dark circles under your eyes with a brown or purple eyeshadow. Use cream makeup or fake blood to create small wounds and scratches. Don’t forget bloodshot eyes! Apply red contact lenses (if comfortable) or use red eye drops (ensure they are safe for contact lens wearers). Finally, mess up your hair! Use hairspray or gel to create a disheveled, windblown look.
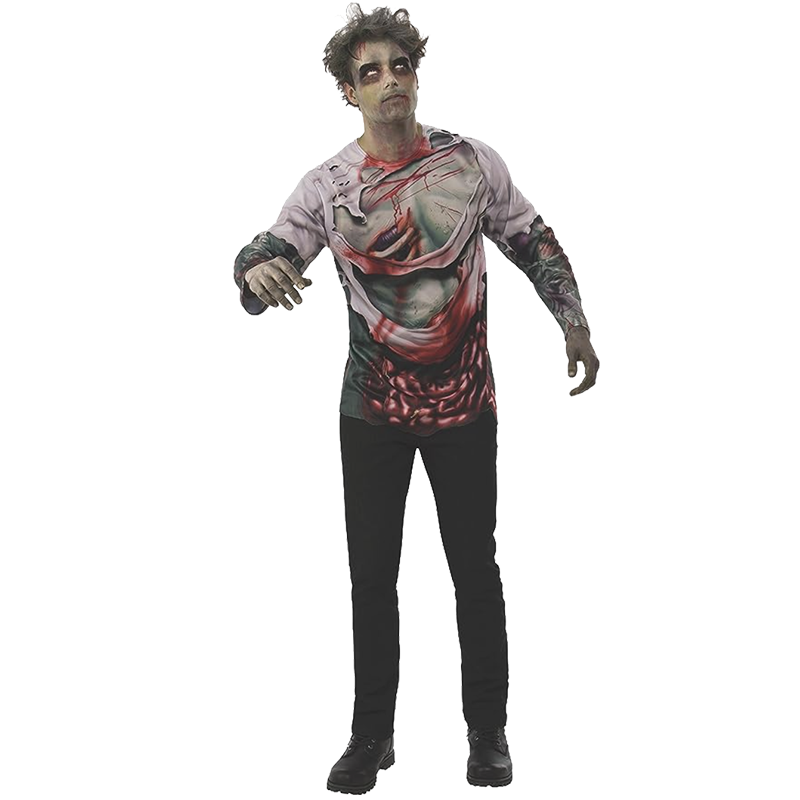
The Classic Decomposed Look
For a more grotesque zombie, take those ripped clothes to the next level. Rip large tears in the fabric, expose some underlying muscle (with ripped brown fabric), and don’t be shy with the fake blood – splatter it generously across your clothes and exposed skin.
Makeup Magic: The Art of Decay
This is where your makeup skills can truly shine (or decompose?). Start with a very pale foundation, even venturing into a grayish tone. Using cream makeup or various shades of eyeshadow, create sunken eyes, hollow cheeks, and a rotting jawline. Highlight bones by applying a lighter shade along your cheekbones and brow bone.
Now comes the fun part – creating wounds! Fake blood and liquid latex are your best friends here. Apply the latex to create raised, open wounds. Once dry, paint the wounds with various shades of red, purple, and black to create a realistic rotting effect. Don’t forget to add some fake pus (use white or yellow cream makeup) for extra horror points!
Accessorize for the Apocalypse
The right accessories can truly elevate your zombie costume. Think dangling entrails (made from ripped fabric and stuffed with cotton balls), a severed limb (crafted from foam or latex), or a creepy eyeless mask (available at most costume stores).
Bringing Your Zombie to Life
Now that you’re looking the part, it’s time to embody the zombie spirit. Move slowly and with a hunch, dragging your feet as you walk. Let your arms hang limply at your sides. Moan occasionally, with a vacant stare in your eyes. The key is to appear lifeless and hungry for… well, you know.
Bonus Tip: The Power of Props
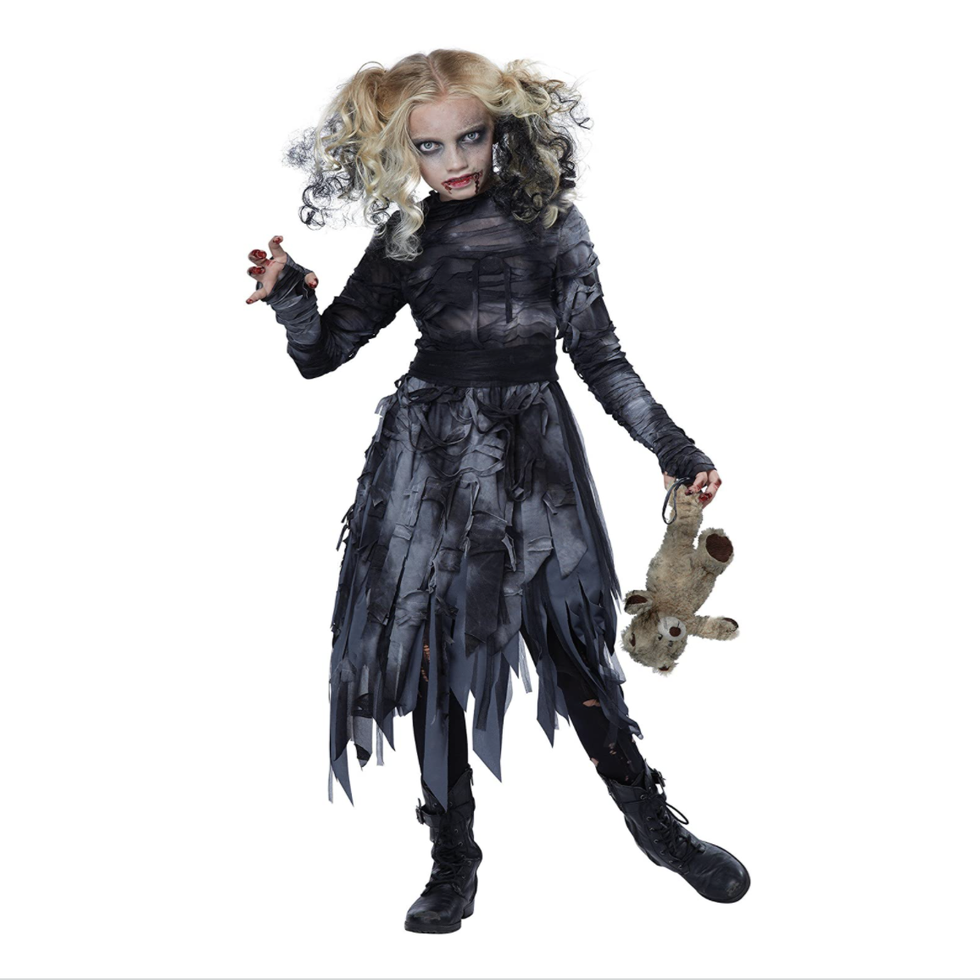
Props can add another layer of detail and backstory to your costume. Carry a rusty wrench or a broken baseball bat – weapons a desperate survivor might use. Cling to a tattered teddy bear, hinting at a lost life. Get creative and have fun with it!
Options for zombie hairstyles
Your zombie costume wouldn’t be complete without the perfect hair to match your level of decay. Here are some hair-raising options to consider, from the recently turned to the grotesquely decomposed:
Freshly Turned Tresses
-
Disheveled Chic: For a recent zombie, achieve a messy, windblown look. Use texturizing spray or dry shampoo to create volume and tousle hair with your fingers.
-
Bloodstained Strands: Add a touch of horror by incorporating fake blood into your hair. Mix a small amount of red food coloring with water to create a realistic blood splatter effect.
Classically Undead Coifs
-
Matted Mane: Channel your inner swamp monster with a tangled, matted look. Apply hair gel or mousse to create clumps and braid sections of hair for a more textured effect.
-
Bald with Bites: Showcase the effects of zombification with a partially bald head. Shave a small patch of hair or use a bald cap to create the illusion of hair loss. Complement this with gruesome makeup around the “wounded” area.
Rotting and Ragged
-
Greasy and Stringy: For a truly repulsive look, create greasy, stringy hair. Apply petroleum jelly or hair wax to make hair appear slicked back and clumped together.
-
Mohawk of the Undead: Give your zombie a punk rock edge with a tattered mohawk. Spike hair upwards with hair gel and tease sections for added volume. Rip and shred the hair for a battle-worn effect.
So you’ve chosen your perfect zombie character – fantastic! But before you break out the fake blood and ripped clothes, let’s address some potential costume challenges. After all, a little planning can ensure your undead transformation goes smoothly.
Challenge 1: Finding the Right Fit
Costumes can be notorious for running small or large. Here’s how to win the sizing battle:
- Online Orders: Read online reviews for specific sizing information. When in doubt, size up – it’s easier to alter a larger costume than a smaller one.
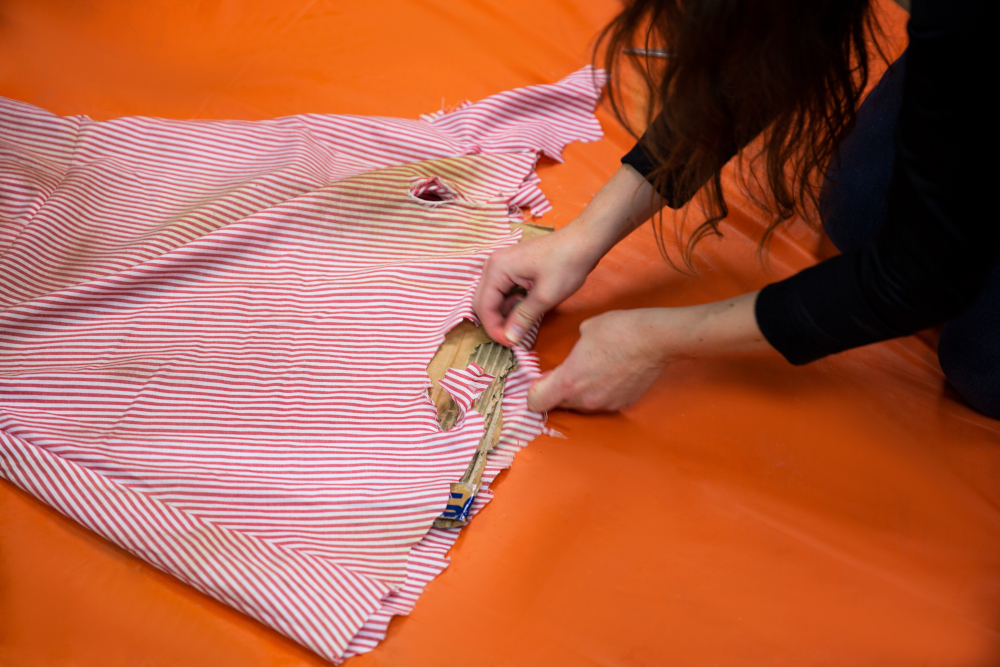
- DIY Costumes: If crafting your own masterpiece, measure yourself carefully and allow extra fabric for alterations.
Challenge 2: Costume Comfort
Halloween festivities often involve long nights. Here are some tips for a costume that won’t leave you moaning in discomfort:
- Materials: Choose breathable fabrics like cotton or linen, especially for undergarments. Avoid itchy materials like wool or excessive synthetics.
- Temperature Regulation: Consider the weather. If it’s chilly, layer thermals underneath your costume. For hot weather, opt for lightweight fabrics and keep hydrated.
- Footwear: Supportive and comfortable shoes are crucial, especially if you’ll be standing or walking for long periods.
Challenge 3: Costume Catastrophes
Accidents happen, especially with elaborate costumes. Here’s how to be prepared:
- Sewing Kit: Pack a mini sewing kit with needle, thread, and safety pins for quick repairs.
- Safety Pins: These lifesavers can fix wardrobe malfunctions, secure loose straps, or even create a makeshift bandage for your “wounds.”
- Double-Sided Tape: This can be a godsend for costume malfunctions, securing wig edges, or attaching props.
Challenge 4: Vision and Movement
Sometimes, costumes can restrict your sight or movement. Here’s how to stay safe and have fun:
- Masks and Vision: If your costume includes a mask, ensure proper ventilation and good peripheral vision. Practice walking around beforehand to avoid bumping into things.
- Mobility: Test your costume’s range of motion. Can you easily sit, bend, and climb stairs? Adjust your outfit or choose a different design if necessary.
Challenge 5: Weatherproofing Your Costume
A little rain shouldn’t dampen your spooky spirit!
- Waterproofing Sprays: Treat your costume with a water-resistant spray to protect it from light rain or spills.
- Umbrella Duty: Assign a friend umbrella duty, or invest in a small, collapsible one to keep your masterpiece dry.
By anticipating these challenges and taking some preventative measures, you can ensure your zombie transformation is a terrifying (or perhaps comical) success! So get creative, embrace the challenges, and have a spooktacular Halloween!
From the Simple to the Spectacular
Remember, a great zombie costume doesn’t require Hollywood-level special effects. With a little creativity and the tips above, you can create a terrifying (or perhaps comical) zombie that will be the highlight of any Halloween event. So unleash your inner undead and have a spooktacular time!