


Posted inCosplay Costumes
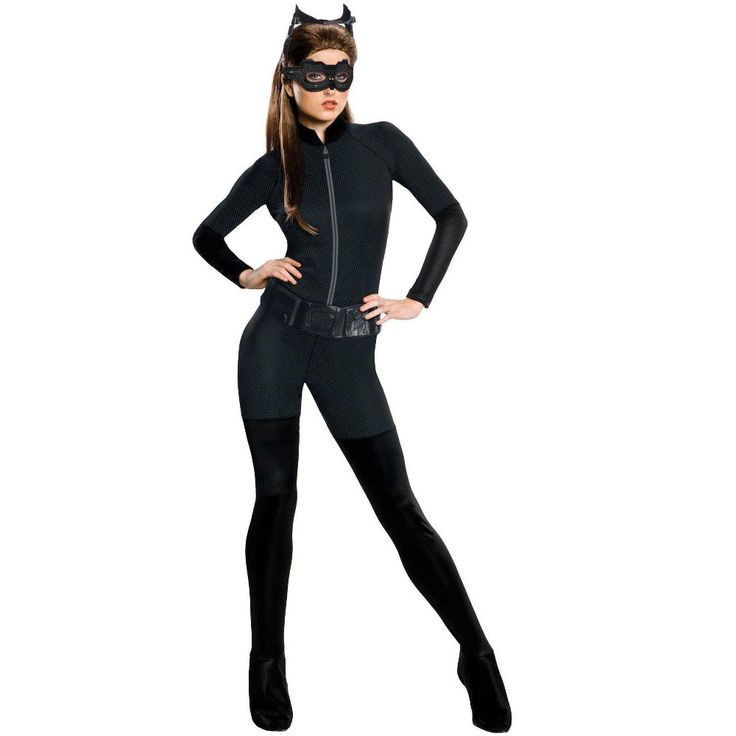
Crafting the Perfect Catwoman Costume for Your Event
Introduction to Catwoman Costumes Catwoman costumes are a popular choice for many events. This iconic look serves not only as a Halloween staple but also as a go-to for comic…